
How to Remove Comic Speech Bubbles With AI

Scanned comics often leave you with one stubborn problem: speech bubbles cover the art you want to keep. AI can remove them, but the cleanest results come from careful masks, good source files, and a quick human check. This workflow shows how to remove speech bubbles from scanned comics using AI, with MangaGloss as the simplest route for full-page cleanup.
Step 1: Prepare the scanned page
Start with the largest, cleanest page file you have. PNG keeps line detail better than a heavily compressed JPG, so avoid resizing before the AI pass. Split double-page spreads into single pages when the center gutter cuts through a bubble or panel.
Open MangaGloss and upload the page. You can also use its AI manga translation workflow when you want text detection, cleanup, and later typesetting in one pass.
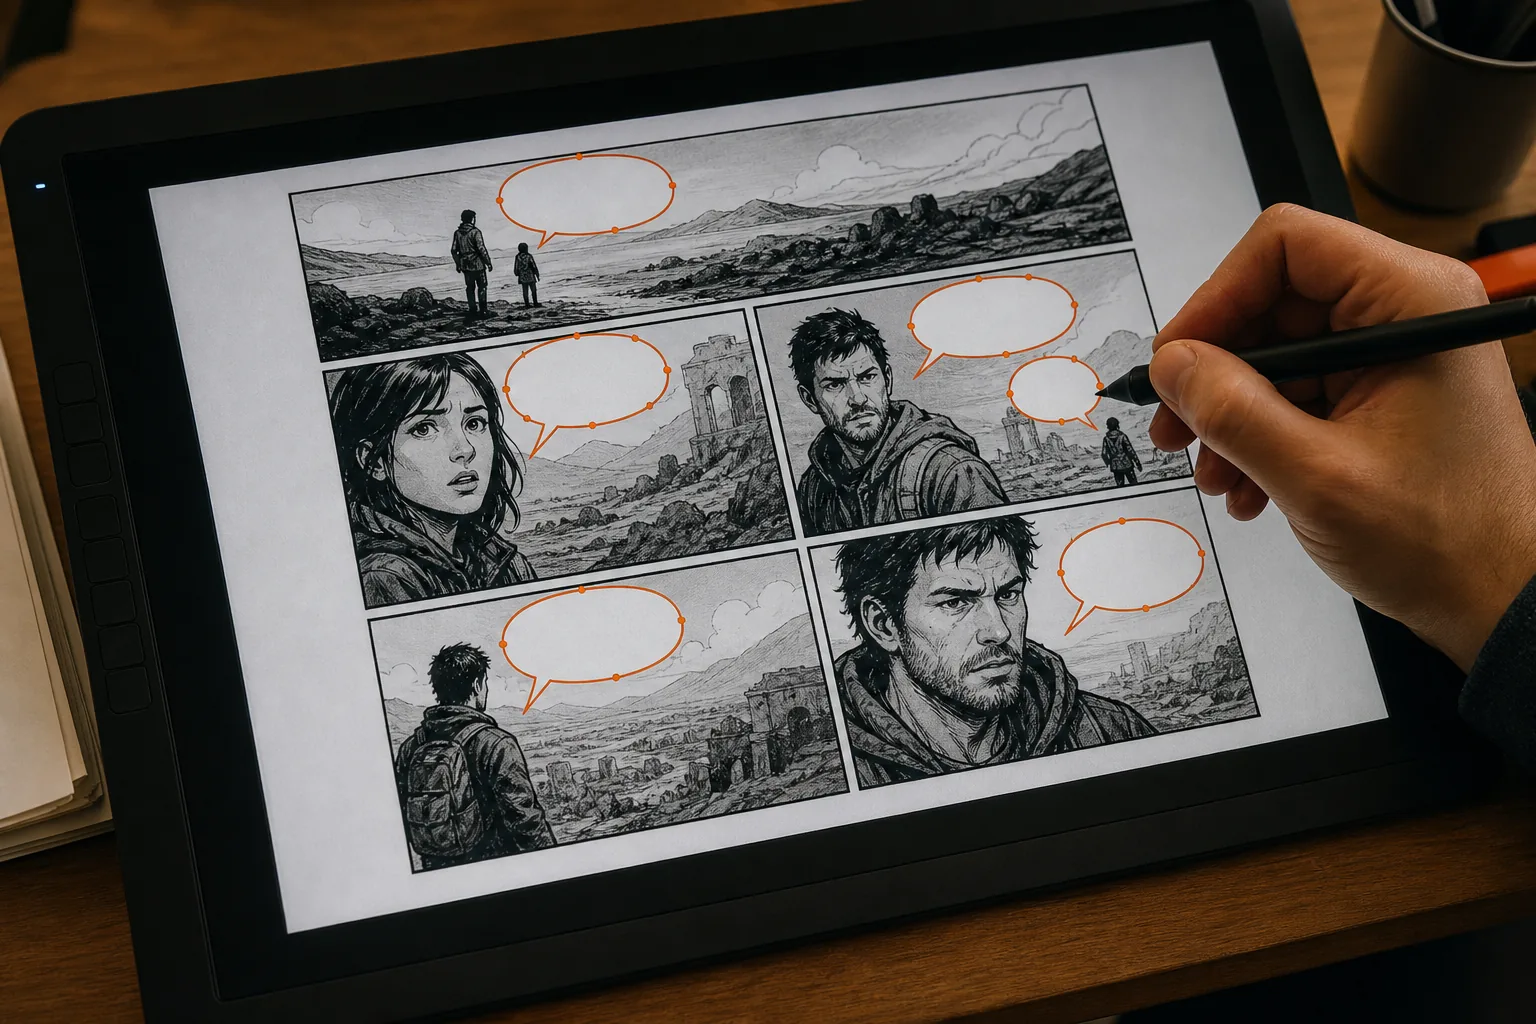
By now you should have one page at its original size, saved as a separate working copy.
Step 2: Select the speech bubbles
AI removal works best when the mask covers the full speech bubble and its lettering. Include the outline if you want the whole bubble gone. Leave nearby faces, hair, panel borders, and key line art outside the mask.
For manual work, use a lasso or brush selection. Automated manga tools can detect text regions with OCR, but inspect every selection before processing. Start with a scanned page and a mask around the speech-bubble region, as shown in this example.
Don’t mask every text mark at once if the page is busy. A large speech bubble may be a better first target than tiny sound effects.
Step 3: Check the art underneath
Before removal, study what sits behind each bubble. A flat white background is easy. A bubble over hair, a screen tone, or a detailed wall needs more care.
Zoom in and note nearby lines that the inpaint model must rebuild. If the bubble crosses a panel border, make a tighter mask and plan to repair the border by hand. This small check stops the AI from inventing a new line across a character’s face.
Traditional retouching tools still help here. Photoshop Content-Aware Fill can handle simple gaps. Manual blending and cloning can work well for small marks after the main AI pass.
Step 4: Run the AI inpainting pass
Now remove the selected bubble with an inpainting model. MangaGloss handles OCR, removal, and typesetting as one workflow, which is useful when the cleaned page will receive translated text later.
Some inpainting methods adjust how the model attends to the masked region during the diffusion process, helping rebuild the missing artwork instead of generating new text there.
If you use another editor, choose an inpaint mode rather than a blur or white-fill tool. The goal is to rebuild the missing artwork, not hide the bubble.
Step 5: Rebuild damaged line art
Inspect the result at 100 percent zoom. Look for broken panel lines, soft hair strands, repeated textures, or odd marks where the bubble used to sit.
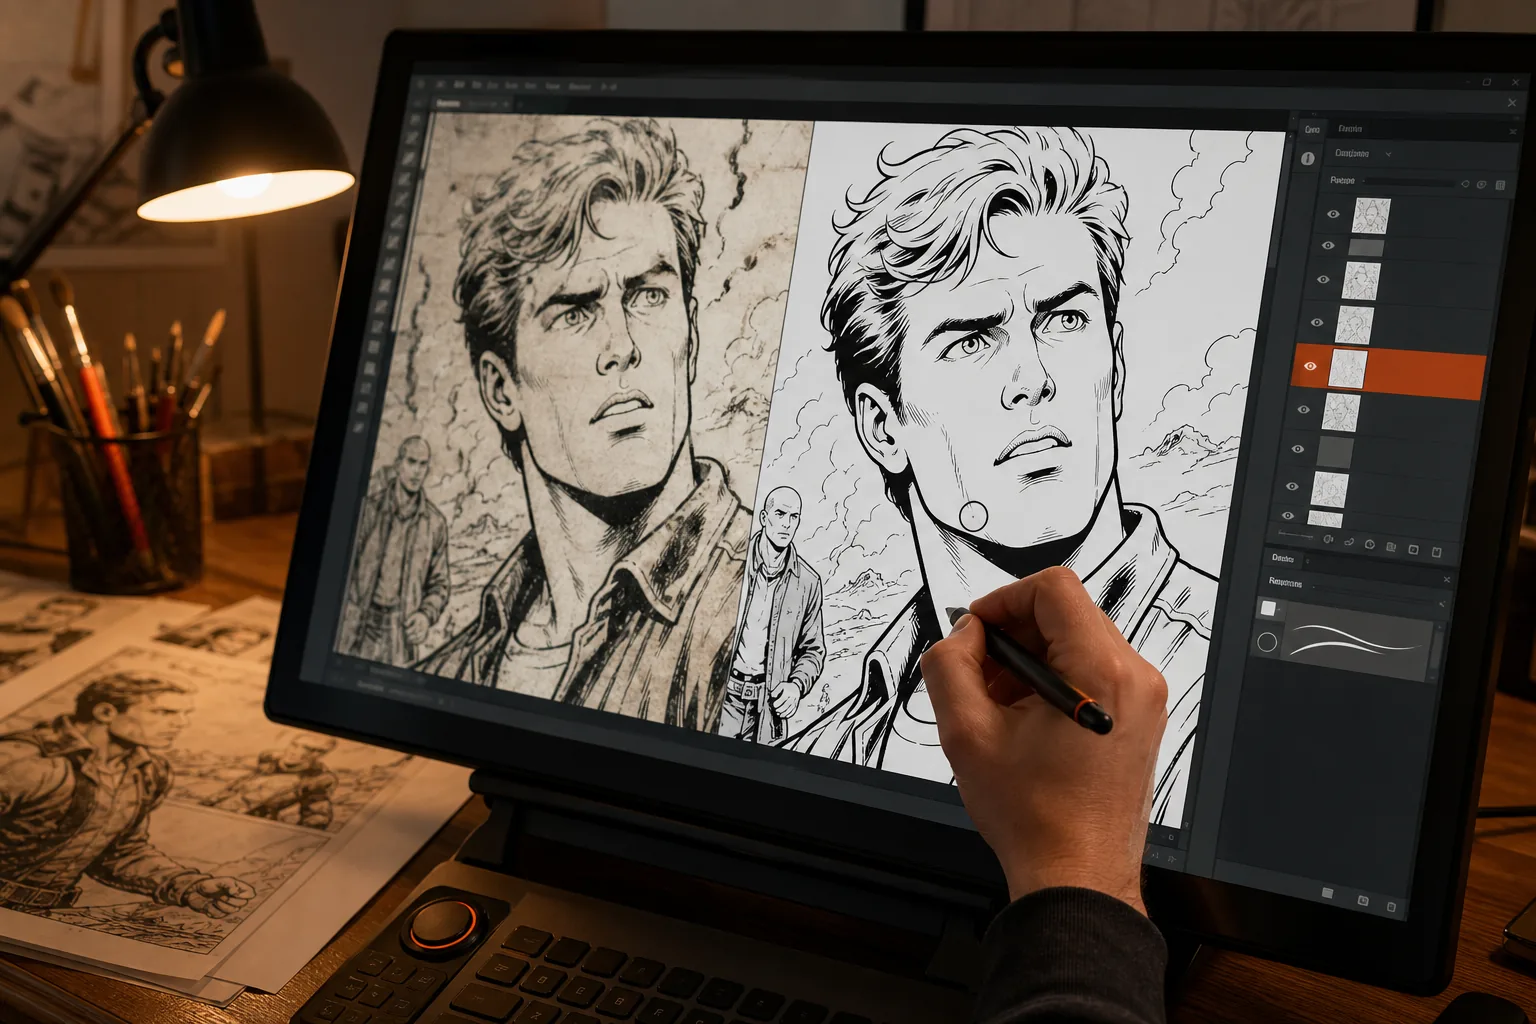
Use the Clone Stamp for repeated textures. Use a blending tool when a nearby tone should blend into the gap. For complex backgrounds, run a second small inpaint pass instead of repainting a wide area.
Keep the repair on a new layer when your software supports it. That lets you compare the original and cleaned versions without losing the source.
Step 6: Correct color and resolution
AI may leave a faint color shift near the mask, even when the art looks clean at first glance. Compare the repaired area with nearby paper tone, gray screen tone, or flat color.
Check for small color changes after text removal and aim for a balance between clean removal and color stability.
Don’t upscale before the repair. Keep the original pixel size through inpainting, then use light line-art enhancement only if the final page needs it.
Step 7: Process multiple pages
For a chapter, test one representative page before starting the full batch. Pick a page with a plain bubble, a textured background, and a dense panel if possible.
Once the result looks right, upload pages in reading order. Keep the original filenames or add clear page numbers. MangaGloss supports batch page work, so a full chapter can move through cleanup before you review each output.
Review difficult pages first. Battle scenes, spreads, and bubbles that overlap faces usually need more hands-on repair than quiet dialogue panels.
Step 8: Review and export
Compare every cleaned page with its scan before export. Check that no letters remain inside the artwork, panel borders still meet, and faces have not changed.
If you plan to translate the page, review the OCR text before typesetting. MangaGloss lets you edit translated bubble text and adjust its placement in the built-in editor. Export PNG files when you want to preserve page detail. Use a PDF only when a multi-page document is more useful.
Keep the untouched scan beside the finished file. It gives you a safe reference if a later edit damages the art.
FAQ
Can AI remove speech bubbles from scanned comics?
Yes, AI can remove speech bubbles from scanned comics through masking and image inpainting. The model fills the selected area based on nearby art. Results are strongest when the scan is sharp and the mask includes the full bubble without covering faces or panel lines. Always inspect the repaired page at full size.
What is the best AI workflow for removing comic text?
The best workflow starts with a high-quality scan, then detects or masks the bubble before inpainting the gap. MangaGloss combines text detection with cleanup and optional translation, which saves work when you need a readable replacement page. For complex panels, finish with Clone Stamp or Heal repairs.
Can I remove bubbles without changing the comic art?
You can reduce unwanted changes, but no AI method guarantees a perfect match. Use a tight mask and keep important lines outside it. Check faces, screen tones, and borders after removal. If the model shifts a color or breaks an ink line, restore that part from the original scan by hand.
How do I remove speech bubbles from many comic pages?
For many pages, test the workflow on one difficult page first, then process the batch with the same file quality and mask rules. Keep pages in order and review outputs in groups. Automated cleanup saves time, but spreads and detailed backgrounds still deserve a manual check before export.
For most readers and translation teams, start with MangaGloss, use the highest-quality scan available, and review the first few pages closely. Once the mask and repair settings work well, process the rest of the chapter and keep the original files as backups.