
How to Preserve SFX Style in Comic Localization

A missed translation is easy to fix. A flat, misplaced sound effect can drain the force from an entire panel. To preserve sound effect styling when localizing comics, treat each SFX as part of the artwork, not as spare text. The workflow below covers cataloging, cleanup, translation, lettering, review, and export.
Step 1: Catalog the Original Sound Effect Styling
Start by recording what each original sound effect does before you translate a single word. This first step gives you a visual and language guide for the whole chapter.
Make a working sheet for every SFX on the page. Record the original string, its location, its likely meaning, and the visual traits that make it fit the panel. Note the font weight, tilt, width, outline, fill color, shadow, and any distortion. Also note whether the letters sit behind a character, cross a panel border, follow a motion line, or blend into the background.
Then mark the role of the effect. A crash, footstep, heartbeat, aura, pause, and rough texture may all need different treatment. Japanese manga often uses sound-like words for states and feelings too. A repeated effect may signal tension or a mood rather than a noise that a reader could hear.
Build a small catalog for recurring effects. Include the source spelling, your chosen English form, the scene type, and a visual note. If a ship engine appears three times, don’t translate it three different ways. Keep one entry unless the scene clearly changes its meaning.
The point isn’t to force every SFX into one English equivalent. Directly transcribing Japanese onomatopoeia may preserve the letters while losing the feeling that the original gives the reader.
Use a simple status field for each item: keep, translate, adapt, or review. “Keep” fits a signature effect whose original glyphs add value. “Translate” fits a clear action with a natural English match. “Adapt” fits a phrase that needs new wording or a changed shape. “Review” flags an effect that depends on the scene.
By now you should have a page-by-page SFX list and a short style guide. Keep it open during every later pass.
Step 2: Separate Artwork, Text, and Effects Before Editing
To preserve sound effect styling when localizing comics, separate the page into working parts before you erase or redraw anything. The goal is to protect the art while giving each text type the right edit.
First, keep an untouched copy of each raw page. Make a second working copy for cleanup. If you work with layers, name them by function. Use separate layers for the base art, masked Japanese text, translated dialogue, translated SFX, and temporary guides. Clear names make handoffs much safer when another letterer joins the job.
Next, classify each piece of text. Speech inside a bubble is usually a different task from an SFX drawn across a wall or a character. Narration boxes may need a clean replacement. Art-integrated SFX may need a mask, a redraw, or a small English note beside the original.
Don’t paint over a sound effect until you know what sits behind it. Look at nearby screen tones, hair strands, shadows, speed lines, and panel borders. A broad white patch may remove more artwork than the Japanese letters themselves. When the background is complex, use a mask and rebuild only the covered area.
Check the reading order as well. A large SFX can overlap a panel edge without changing the sequence. Moving it into open space may make the page easier to edit but change how the eye travels through the action. Keep a copy of the original placement visible while you work.
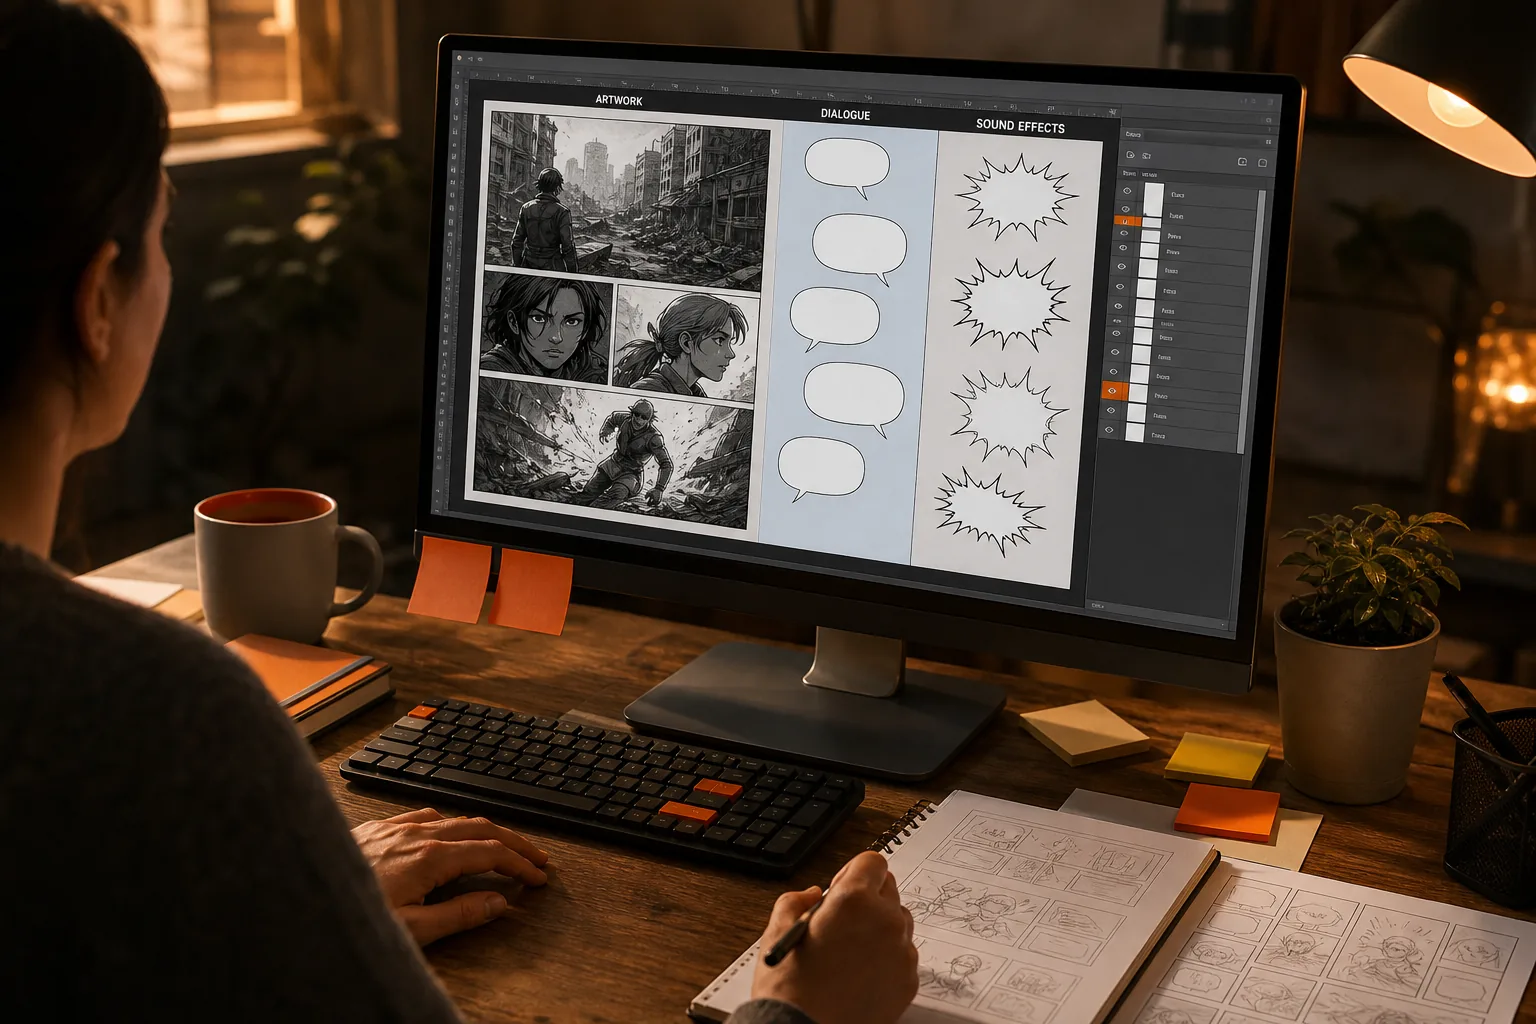
MangaGloss can help with the first pass because its workflow detects text, translates it, removes original text through inpainting, and typesets the result. Its own guidance also notes that art-integrated SFX remain a known limitation, so treat detected effects as a starting point rather than a final result. The MangaGloss explanation of AI manga translation describes which text types the system handles and where manual edits may still be needed.
For a clean handoff, save the raw page, the cleaned page, and the editable working file. Add the page number to every filename. Never overwrite the raw source after a rushed cleanup pass.
By now you should have a protected source file and a working file where art, dialogue, and SFX can be edited without stepping on one another.
Step 3: Translate the Meaning Without Losing Visual Impact
Good localization keeps the action clear while preserving the force of the original mark. That is the heart of how to preserve sound effect styling when localizing comics.
Read the full panel before deciding on a word. Ask what the effect tells the reader. Is it a sharp impact, a low rumble, a scrape, a sudden stop, a nervous state, or a quiet space? Then look at the drawing. A tiny effect near a character’s hand may need a restrained word. A huge effect behind a collapsing building may need a wide, heavy form.
Don’t translate the Japanese spelling sound by sound. Instead, choose an English expression that gives the target reader a similar cue. A punch might become “THUD,” “CRACK,” or “WHAM,” depending on force and style. A machine may need “GRIND,” “CLANK,” or “WHIR.” The drawing decides the word.
Operational sound can help when the source effect is hard to judge. Listen to recordings of the object or action, then compare the sound with the panel’s pace. A search for a train brake, a sword strike, or a ship engine may reveal whether a short word or a drawn-out one fits better. The sound itself is only a guide. The comic may use it for mood rather than strict realism.
Japanese effects can express a state of being, such as tension or sparkle, rather than a hearable noise. That distinction matters when a literal English translation sounds strange or too weak.
Choose one of three paths for each entry:
- Retain: Keep the original glyphs when they carry a strong cultural or visual mark. Add a small translation only if readers need help.
- Replace: Use English lettering when the effect must be understood at once and a natural match exists.
- Adapt: Change the wording, length, or shape when English needs a different visual solution.
Don’t treat “keep” as a shortcut. If you retain the original, check that its position and contrast still guide the reader. If you add a gloss, make it quieter than the art-integrated effect. A large subtitle beside a dramatic Japanese mark can split the reader’s attention.
For series work, add your final choice to the SFX catalog as soon as you approve it. Write down exceptions too. A repeated “RUMBLE” may describe footsteps in one scene and an aura in another. The note prevents a later translator from copying the word without checking the panel.
Read the translated effect aloud. If the word sounds too soft, too comic, or too long for the action, change it before you letter. The best choice often becomes clear when you hear the panel in your head.
Step 4: Recreate Lettering, Shape, and Placement
Letter the new effect as a drawing, not a typed label. To preserve sound effect styling when localizing comics, match the original’s weight, shape, direction, and place before you worry about tiny font details.
Start with the footprint. Measure how much space the original effect occupies and how it interacts with the panel. English words may be shorter or longer than the Japanese string. Expand along the same path when possible. If the original rises diagonally with a punch, don’t drop the translation into a flat horizontal line.
Match the main visual traits:
- Weight: Use thick forms for force and lighter forms for distant or soft effects.
- Shape: Bend, stretch, rotate, or compress letters to follow the action.
- Edge: Rebuild outlines, rough borders, shadows, or glow where they shape the effect.
- Placement: Keep the effect tied to the object or motion that produces it.
- Layer order: Put letters behind a character when the source does so, then bring selected parts forward if needed.
Use the original glyphs as a tracing guide, not as a cage. English capital letters can look too rigid beside loose brush marks. A slight warp or hand edit may work better than hunting for an exact font.
Watch for small details that carry force. A narrow outline can make a large word feel weak. A clean fill can erase the rough texture of an explosion. A shadow that sits on the wrong side can make the effect appear detached from the scene.
If the effect is built into a face, costume, smoke cloud, or detailed background, don’t force a full replacement. Keep the original visible and add a small English gloss near it when that keeps the art intact. This choice often reads better than a large white cleanup patch.
When using MangaGloss, review every open-background effect after the automated pass. Bubble-contained SFX are easier to edit because the surrounding space is clear. Art-integrated effects may need manual placement or a separate redraw. The built-in editor can help with wording and position, but it shouldn’t replace a visual comparison with the source.
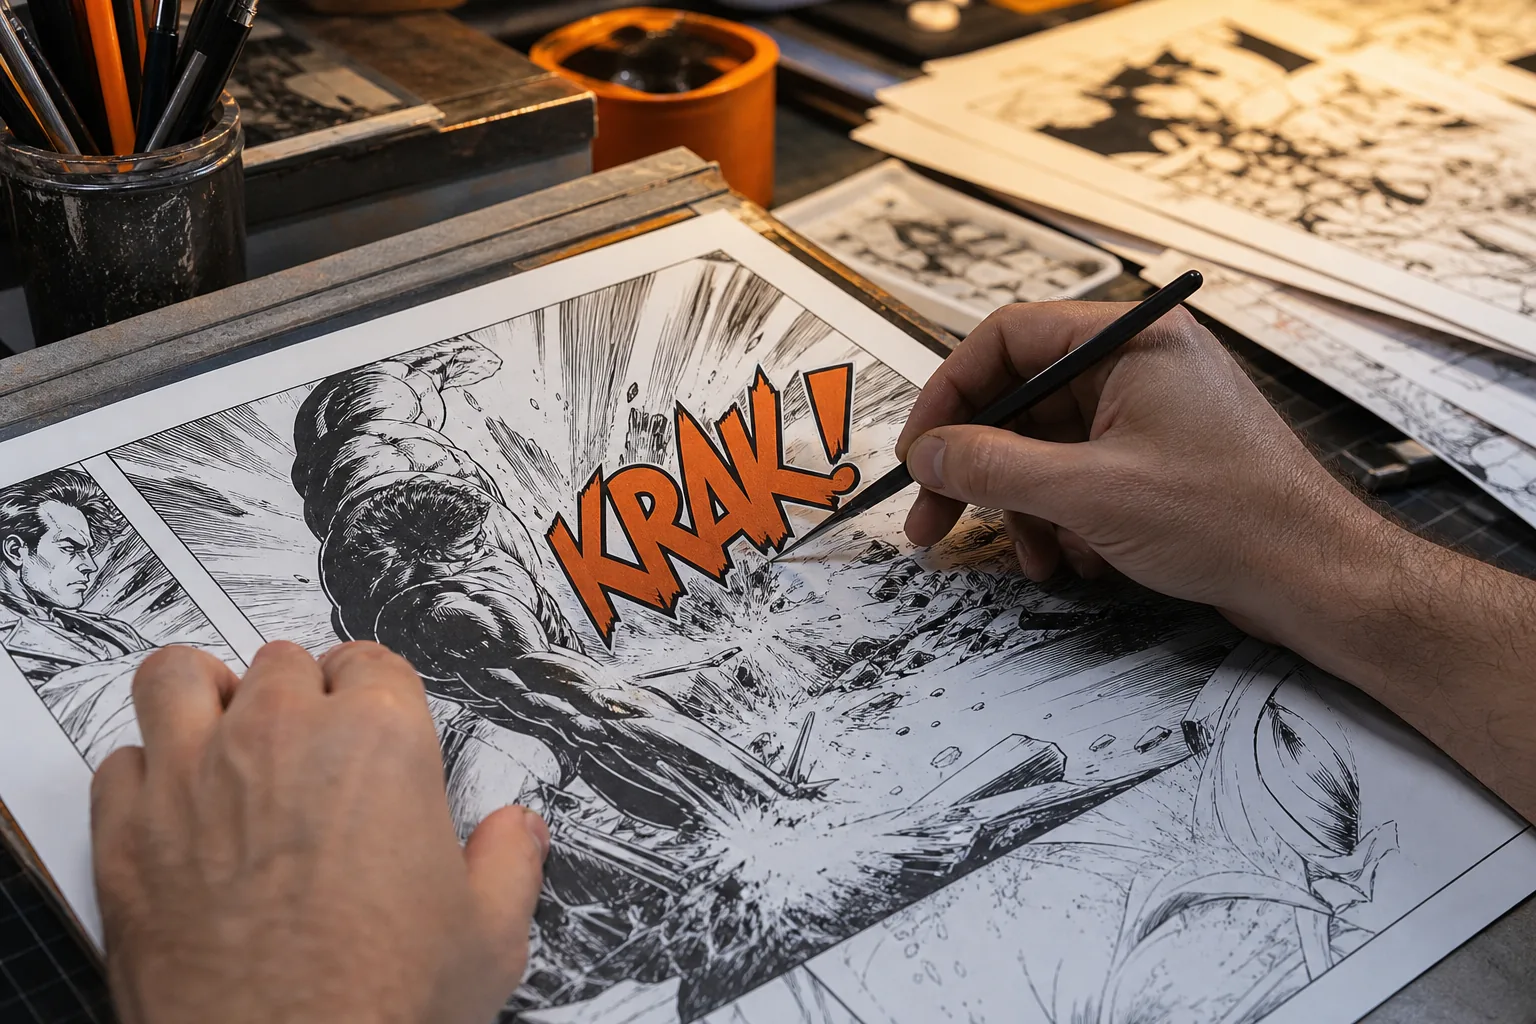
Compare the page at normal reading size, not only at high zoom. At 200 percent, a thin gap or rough mask can seem huge. At reading size, the main question is simpler: does the effect feel attached to the action?
By now you should have a localized SFX layer that feels native to the panel and remains easy to revise.
Step 5: Run a Visual Quality Check and Export the Localized Pages
The final check is where you catch the errors that automated localization misses. It is the last part of how to preserve sound effect styling when localizing comics, and it should happen after export too.
Begin with a side-by-side review. Keep the raw page beside the localized page and compare each effect in order. Check the word choice against your catalog. Then check the visual match. A correct translation can still fail if it covers a face, breaks a motion line, or loses the original’s scale.
Use a repeatable checklist:
- Does every original SFX have a clear decision?
- Did any Japanese effect disappear during cleanup?
- Does each English word fit the action and mood?
- Are repeated effects consistent across the chapter?
- Do outlines, fills, shadows, and textures match the source?
- Does the effect stay clear at normal reading size?
- Did any letter cover important art?
- Are panel borders, gutters, and reading order unchanged?
Next, inspect the page in grayscale if the original uses strong contrast. This can reveal a weak outline or a translated effect that blends into the background. Also check the page on a smaller screen. A word that looks fine on a large monitor may become unreadable on a phone or tablet.
Read the whole chapter in sequence. Consistency errors often hide when you inspect one page at a time. A sound used for the same weapon may shift in size or spelling. A character’s signature effect may lose its visual identity halfway through the chapter.
Export a proof set before the final files. Open those files outside your editing software. Check that transparency, color, resolution, and page order survived the export. If you export a PDF, inspect several pages at full size. If you export images, confirm that no layer guide or temporary mask is visible.
Don’t trust an automatic export just because the preview looks clean. Manual review after export is essential. Some errors appear only when fonts substitute, layers flatten, or a large page is resampled.
Keep the editable project and the approved output separate. Name the final folder by series, chapter, language, and revision. Save the SFX catalog with it so the next chapter starts with a working reference instead of a blank page.
Your final milestone is a proofed page set with a matching catalog, an untouched source, and an editable working file. That small archive will save time on the next chapter.
FAQ
Should I translate every sound effect in a manga?
No, you shouldn’t translate every sound effect. Keep an original effect when its glyphs add visual or cultural value. Replace it when English readers need a fast cue. Adapt it when a literal word would sound weak or awkward. Record the decision in your SFX catalog so the same effect does not change without a reason.
How do I preserve the original Japanese SFX?
Preserve the original Japanese SFX by keeping its glyphs visible and adding a small English gloss when needed. Match the original’s position, scale, and contrast. Avoid covering it with a large white patch unless the art requires removal. The original can remain part of the design while the nearby gloss gives readers enough context.
Can AI tools handle art-integrated sound effects?
AI tools can detect and translate many effects, but art-integrated SFX still need manual checks. Effects drawn into hair, smoke, speed lines, or backgrounds are harder to separate from the art. MangaGloss can process common text and bubble-contained effects, while heavily blended effects may need manual cleanup and lettering.
What font should I use for localized comic SFX?
Use a font that matches the original effect’s weight and mood rather than choosing one font for every page. Heavy block forms fit impact. Narrow or rough forms may fit movement or texture. If no font matches, warp the letters or edit them by hand. The shape and placement usually matter more than the font’s name.
How do I check a localized comic before export?
Check a localized comic side by side with the raw page, then review the exported files outside your editor. Confirm each SFX decision, word choice, layer position, contrast, and page order. Read the chapter at normal size as well. This catches effects that look fine at high zoom but disappear during normal reading.
Conclusion
Build the SFX catalog before editing, keep original glyphs when they help the art, and review every exported page by hand. MangaGloss can speed up OCR, translation, inpainting, and typesetting, but stylized effects still deserve a human visual pass. Start with one chapter, save your approved SFX choices, and carry that guide into the next page.