
How to Clean Comic Scans Before Translation

A dirty scan can hurt a translation before language work even starts. Dust may look harmless to you, yet OCR can read it as a mark, while blur can erase a small character. The best practices for cleaning scanned comic panels before translation follow a clear path: check the source, clean the page, repair only what is safe, tune contrast, then export a sharp PNG for OCR.
Use the five steps below as a repeatable workflow. MangaGloss can handle the AI cleaning and translation flow, but good source files still give every later stage a better chance.
Step 5: Crop, Export, and Quality-Check Panels in MangaGloss
The goal is to send OCR a clean panel at the right size and in a lossless format.
Start by cropping away anything that does not belong to the page. Remove scanner beds, desk edges, black strips from a book spine, and magazine headers. Keep speech bubbles fully inside the crop. A tight crop helps text detection focus on the art, but a careless crop can cut off a bubble tail or a small note near the edge.
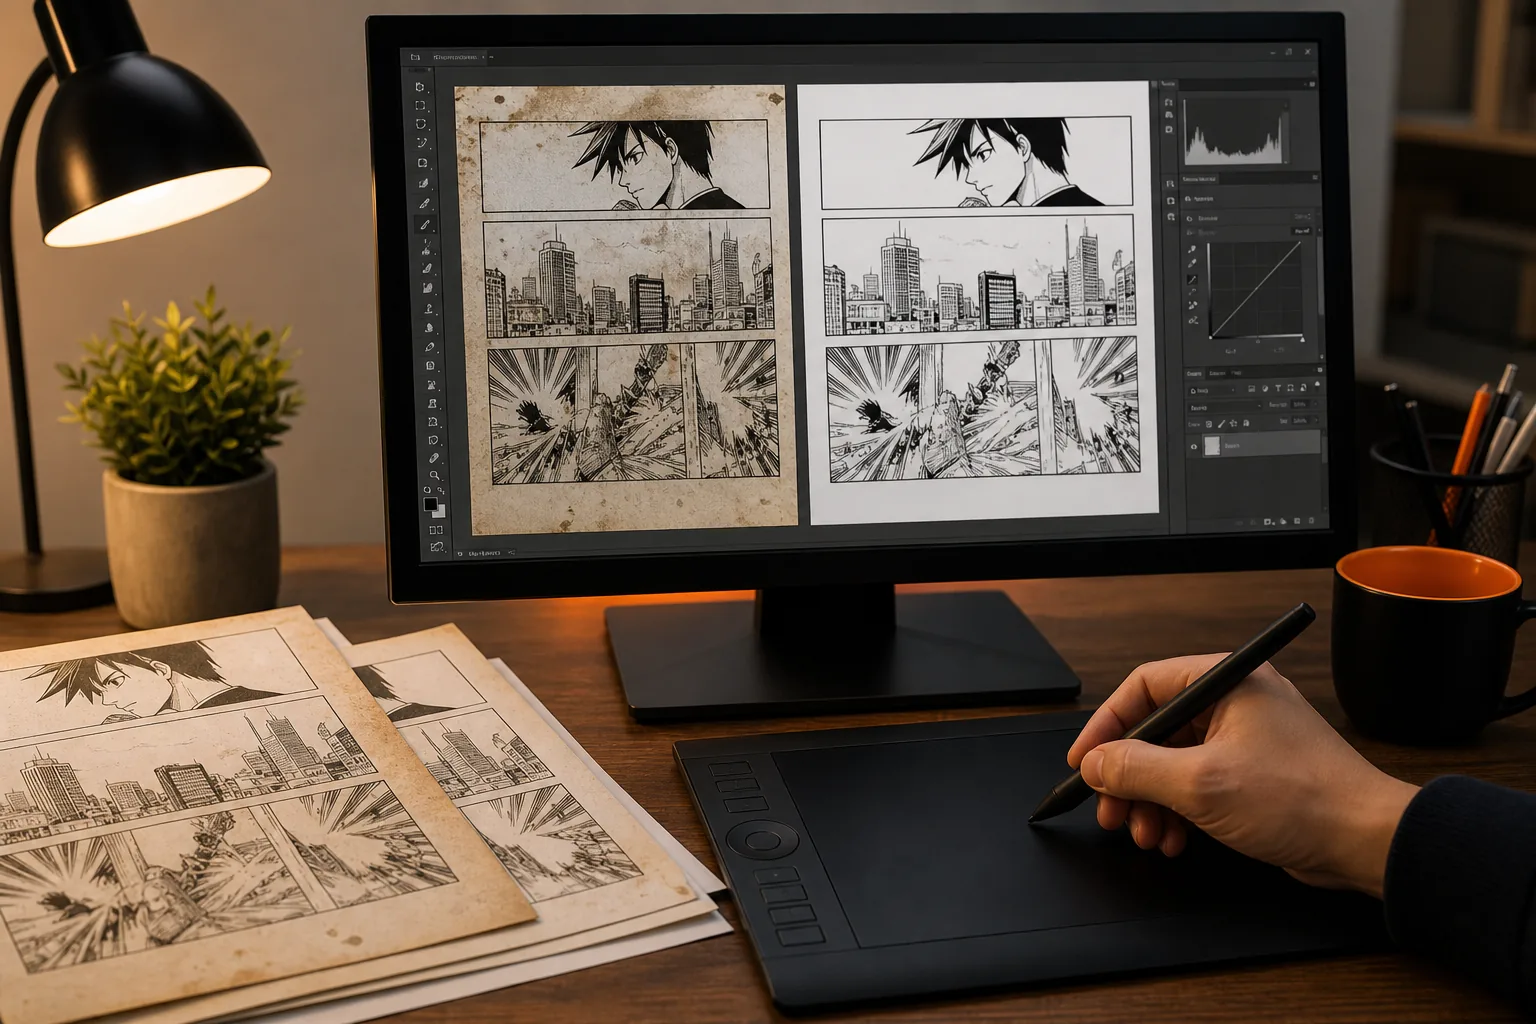
Split a double-page spread when the center fold bends text or art. Keep the original spread as a backup. Then name the working files in reading order, such as chapter and page number. Sequential names prevent a batch from becoming hard to review later.
When the page is ready, export it as PNG. JPG compression can add small blocks around fine lettering. Those blocks may blur a thin stroke or confuse a detector near a bubble edge. PNG keeps the pixel data intact, so it is the safer handoff format for OCR.
MangaGloss accepts PNG uploads and can process individual pages or a ZIP archive. Its workflow combines OCR, translation, inpainting, and typesetting, so you can move from cleaned source files to an editable result in one place. The MangaGloss workspace for translation teams is suited to chapter work where several people need a clear handoff.
Before you process a full chapter, test one hard page. Pick a page with small text, dark screentones, or curved lettering. Check the detected text, the erased area, and the rebuilt art. If any part fails, fix the source file before repeating the same error across every page.
Use this final check:
- Is every speech bubble complete?
- Are small notes and sound effects still visible?
- Does the crop keep the panel border and art intact?
- Is the export a PNG at the working resolution?
- Can you read the smallest text at normal zoom?
By now, you should have a numbered set of clean PNG pages, plus the untouched scans stored in a separate folder.
Step 1: Assess the Scan and Create a Working Copy
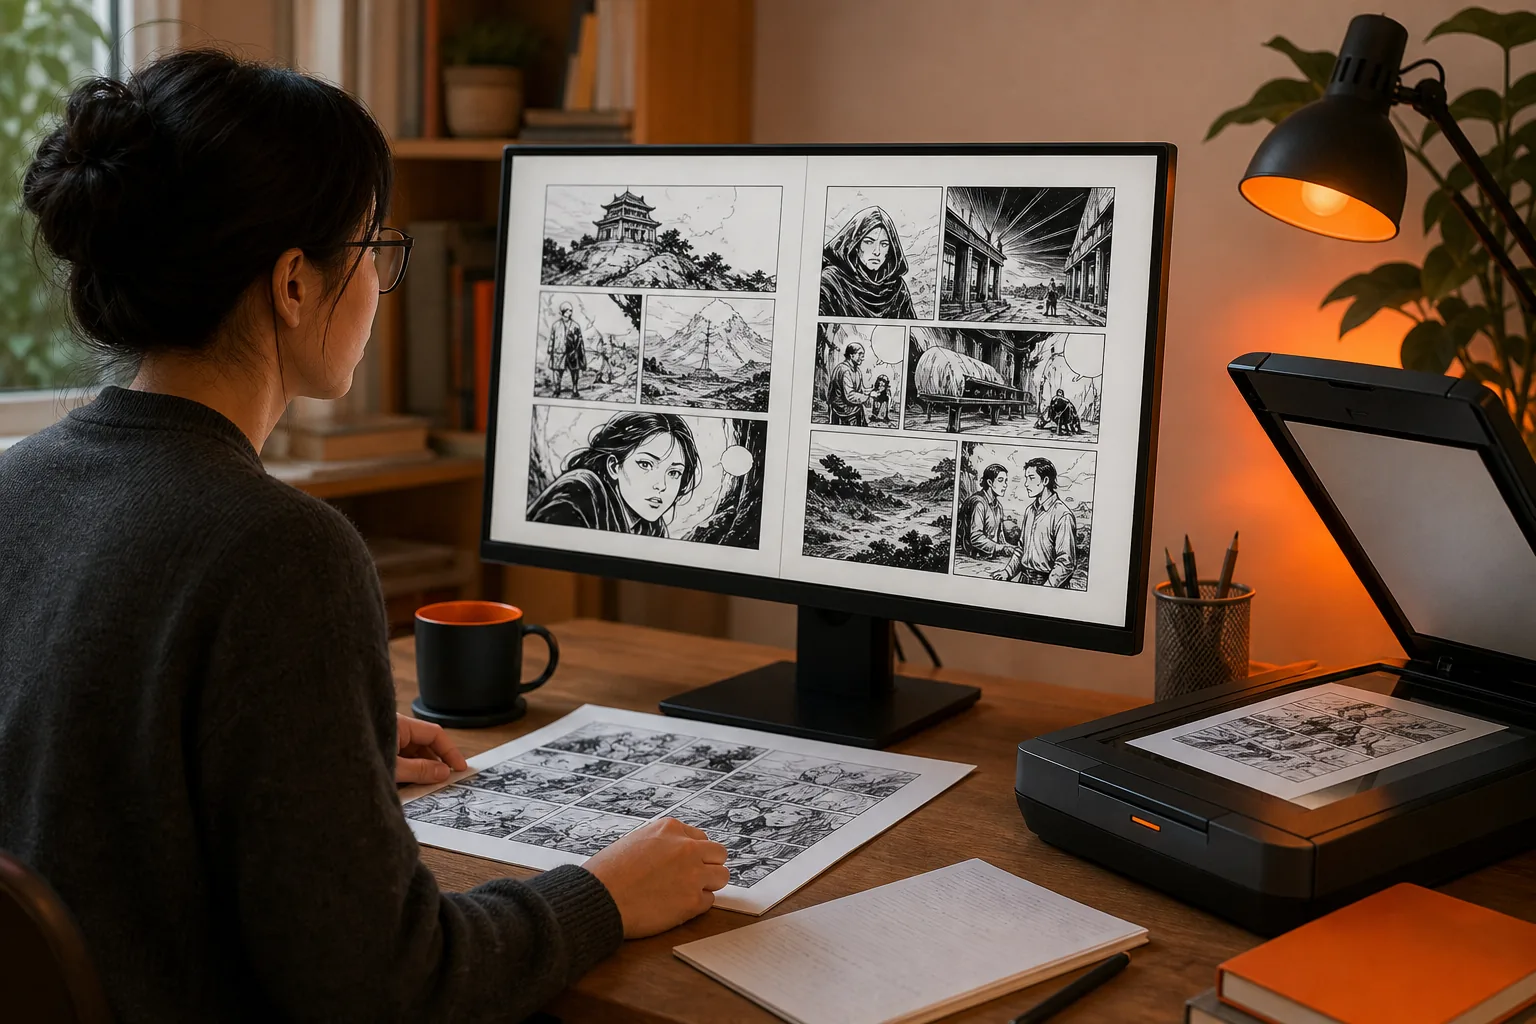
Good cleaning starts with a scan review, not a filter. The first step in preparing comic panels before translation is to find defects that could change what OCR sees.
Open the raw page at full size. Look at the paper tone, page tilt, fold shadows, edge marks, and the smallest letters. Check both dialogue and sound effects. A page may look clear at a small preview while tiny vertical text disappears when enlarged.
Record the source size and scan quality. A 300 DPI scan is a sound minimum for printed pages. Higher quality can help when the source has fine furigana or very small type, but do not invent detail by enlarging a badly blurred file. Upscaling can make edges bigger without making them sharper.
Next, make a working copy. Keep the raw scan untouched. Use a clear folder structure with separate folders for raw files, cleaned files, review files, and final exports. If a later repair damages a panel, you can return to the raw file instead of trying to undo many edits.
Inspect the page for copyright marks or watermarks as well. Do not remove marks from material you do not have permission to edit. For translation projects, work from raws that you obtained lawfully and keep the source record with the project files.
Make a short defect note for each page. You do not need a long report. A note such as “page 04, fold shadow near bubble, low contrast in bottom panel” tells the next editor what to watch.
For a team, this small habit saves time. A translator who receives a page with a known fold shadow can check that region first. A proofreader can compare the clean page with the untouched scan when a line or sound effect seems strange.
When the scan is skewed, correct the angle before detailed cleanup. Straight text gives OCR a better shape to read. Do not stretch one side of the page to force it into a rectangle, since that can change letter forms and bubble shapes.
Run a first visual test in MangaGloss only after you have checked the source. The tool can accept common image formats, but the original scan quality remains the key input. If the first page already has crushed text or a dark fold, automation cannot reliably recover every missing mark.
By now, you should have a source inventory, a safe working copy, and a short defect note for each difficult page.
Step 2: Remove Dust, Specks, Borders, and Background Noise
Clean the parts that are clearly noise while leaving the page’s visual language alone. This is one of the most important best practices for scanned comic panels before translation because false marks can become false text regions.
Begin with large defects. Remove dark scanner borders, page edges, finger shadows, and broad gray bands outside the art. Crop them when possible. Cropping is safer than painting over the edge of a panel because it keeps the art untouched.
Then inspect the white areas inside bubbles. Dust specks often appear as isolated black dots. Use a spot repair tool on a working layer or let a mask-based cleaner detect them. Zoom out after each group of repairs. A mark that looks like dust at 400 percent may be a deliberate dot, texture mark, or part of a character’s eye.
MangaGloss is built around text masks, mask expansion, border denoising, and inpainting in one flow. That matters when a page has many bubbles because the cleanup stays tied to the regions that will later be translated. You can find the tool at MangaGloss, then test a single page before sending a full batch.
AI masks need review. A detector may miss tiny characters. It may also include part of a speech bubble border or nearby art. Over-masking can remove a hand, a hair line, or a panel detail that happens to sit close to text.
Use a two-pass check:
- Look at the mask alone. Search for missed letters and areas that reach beyond the text.
- Look at the inpainted page. Search for missing art, soft patches, or a broken bubble rim.
Expand a text mask only enough to cover halos around letters. If the expansion reaches a thick panel line, reduce it and repair that line later by hand. A large mask is faster in the moment, but it can leave a blank patch that takes longer to fix.
Do not flatten the page too early. Keep the original layer and a clean layer apart while you work. If the same dust mark appears on many pages, you can adjust the process once and repeat it. If the paper has uneven gray tone, treat that as a tonal problem in the next step instead of scrubbing every gray pixel away now.
The page is ready to move on when the white space looks clean at normal reading size and the art still has its small marks.
Step 3: Repair Broken Line Art Without Erasing Meaningful Details
Repair only what the cleaning pass broke or what the scan clearly lost. Line repair should protect meaning, since a short stroke may define a face, object, motion cue, or bubble edge.
Compare the cleaned panel with the raw scan before you draw. Mark each damaged area. A missing line inside a quiet background is low risk. A missing line across a character’s eye or hand needs a much slower review.
Use the surrounding strokes as your guide. Match direction first. Then match width and darkness. Avoid making every repair the same thickness. Comic line art often shifts from a fine face line to a heavy outer contour within the same panel.
For a short break in a solid border, draw a small segment on a new layer. For a textured background, copy a nearby patch instead of drawing a clean stripe across it. Keep the repair separate until the page passes review.
Inpainting can rebuild a background well when the removed text sits over a simple tone. It is less predictable near crosshatching, speed lines, faces, or dense clothing folds. If the result looks too smooth, undo it and use a small clone or stamp repair.
Watch for over-repair. A cleaner may treat a thin sound effect stroke as noise. It may also remove a tiny mark inside a bubble that changes a character’s expression. Compare the raw and cleaned versions side by side, not from memory.
Keep sound effects in the review list. They may be part of the artwork rather than speech, and a text detector can handle them differently. Decide early whether they will be translated, retained, or left for a later lettering pass.
After repair, turn the clean layer on and off. The repaired line should support the original form without drawing attention to itself. If you can spot the fix before you notice the scene, make the fix smaller.
By now, you should have a page with complete bubble edges, readable art lines, and a review layer that still lets you compare every change.
Step 4: Balance Levels, Contrast, and Screentones for OCR
Set the page tone so letters stand apart from their background. Contrast work is part of cleaning scanned comic panels before translation, but too much contrast can destroy screentones and thin strokes.
Start with a neutral view. If the whole page is gray, raise the white point with care. If the blacks look washed out, deepen them slightly. Check a speech bubble and a dark panel at the same time. A setting that helps one may crush detail in the other.
Use local changes when the page has uneven light. A fold shadow near the spine may need a small correction, while the rest of the page is fine. Global changes can make clean areas harsh and leave shadowed text hard to read.
Screentones need special care. Their dots carry texture and mood, but they can also confuse OCR when they sit behind lettering. Do not blur the whole page to soften them. Instead, protect text regions with a mask and adjust the surrounding tone in a controlled way.
Generic OCR often struggles with manga lettering, especially when text runs vertically or uses a hand-drawn style. A manga-focused model such as MangaOCR is a better fit for that type of page. Test the model on small text and sound effects before you trust its output across a chapter.
Use this decision table during the tone pass:
| Page problem | First adjustment | Risk to check | Move on when |
|---|---|---|---|
| Gray paper across the page | Lift the white point a little | Thin lines vanish | Bubble text stays dark |
| Dark fold shadow | Correct the shadow locally | Nearby screentone turns flat | The fold no longer joins letters |
| Faint printed text | Raise local contrast | Paper grain becomes noise | Small marks remain distinct |
| Heavy screentone behind text | Mask the text area first | Background texture disappears | Letters separate from dots |
| JPG ringing near letters | Return to the raw file | Repairs hide missing strokes | PNG export preserves clean edges |
Keep a copy of the pre-tone page. If OCR misses a small mark, you can compare the adjusted file with the earlier version. That comparison tells you whether the issue came from the scan, the mask, or the contrast pass.
Finish with a normal-size read, then a close look at the smallest text. If the page looks crisp but the screentone is gone, you pushed too far. OCR needs separation, not a blank white page.
FAQ
What resolution is best for comic scans before translation?
A scan of at least 300 DPI is a sound starting point for comic translation. Higher resolution can help with tiny lettering, but it cannot restore detail lost through blur or compression. Keep the original file, inspect the smallest text at full size, and avoid enlarging a poor scan until it looks sharp.
Should I clean comic scans before running OCR?
Yes, clean comic scans before OCR whenever dust, shadows, borders, or blur touch the text. Remove clear noise first, then check the mask and inpainted result. Do not erase art near a bubble just to make the page look white. The aim is to give OCR clean letter shapes while keeping the original drawing intact.
Is PNG better than JPG for manga translation?
PNG is usually the safer export for manga translation because it avoids the added compression blur found in many JPG files. Fine lettering and thin line art can suffer when a page is saved again as JPG. Use PNG for the cleaned handoff, and keep the raw scan in its original format as a backup.
Can AI cleaning remove too much comic art?
Yes, AI cleaning can over-mask a bubble edge or nearby artwork. It can also miss tiny characters and small notes. Review the mask before inpainting, then compare the rebuilt panel with the raw scan. Reduce mask expansion when it reaches a face, hand, border, or important background line.
Should I use manga-specific OCR?
Manga-specific OCR is often a better choice for vertical text, stylized lettering, and dense speech bubbles. Generic OCR may read ordinary print well but fail on comic layouts. Test a difficult page first, then review names, sound effects, and small notes by hand before translation.
Conclusion
Use a 300 DPI source when possible, keep a raw backup, clean with a reviewed mask, and export PNG before OCR. For a faster end-to-end workflow, test one difficult page in MangaGloss first. If the mask and rebuilt art look right, process the rest of the chapter and keep a human review pass for names, sound effects, and damaged lines.