
How to Export Translated Comics for Print

A translated comic can look sharp on screen and still print poorly. The usual causes are low-resolution source pages, missing bleed, wrong color settings, or text that was never checked at final size. To export translated comics for print at professional quality, treat translation, page setup, PDF export, and proofing as one workflow.
Step 1: Prepare the Translated Comic Files for Print
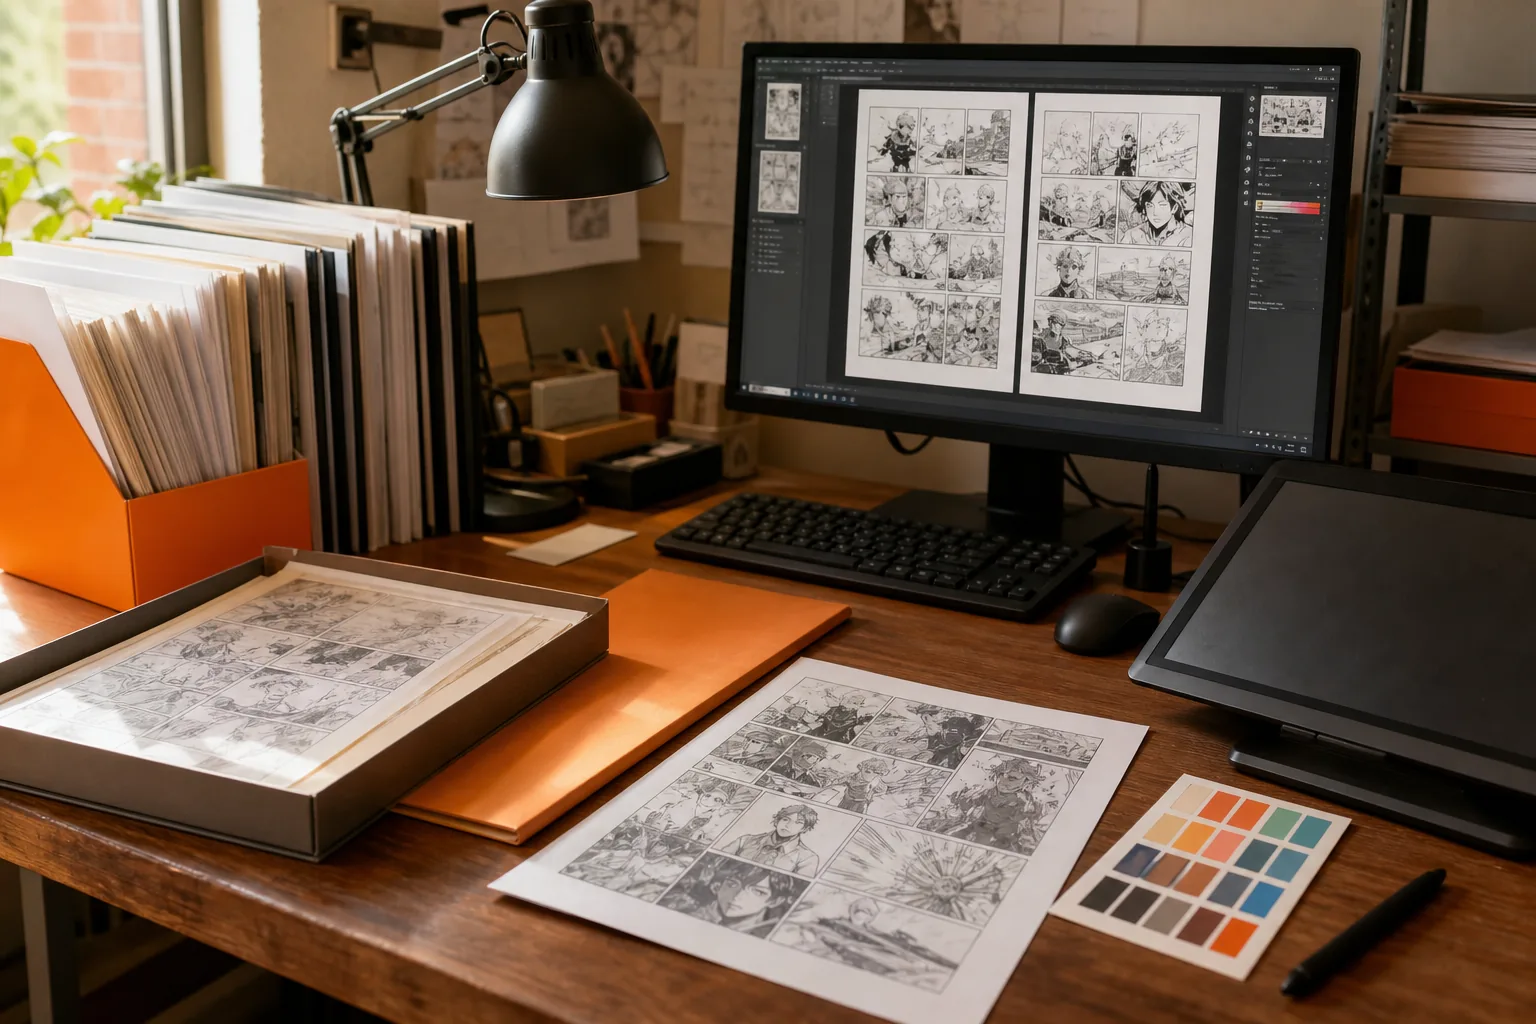
The goal is to start with clean source pages and a file structure that won’t break during layout or export. Don’t begin with a compressed screenshot if you can obtain the original digital page or scan.
First, collect the raw pages from a legal source. Keep the original files in a separate folder. Make a second folder for translated pages, then name each file in reading order, such as chapter-01-page-001. Consistent names prevent page swaps when you import a full chapter.
Use PNG or another lossless source when possible. Heavy JPEG compression can create blocks around Japanese, Korean, or Chinese text. Those marks can make OCR less reliable, and they remain visible in small speech bubbles after translation.
MangaGloss can process PNG, JPG, and WebP pages. It also accepts a ZIP archive for a chapter, which keeps pages in order during processing. Its workflow handles text detection, OCR, translation, inpainting, and typesetting before you review the result. You can translate and localize comic pages with MangaGloss, then keep the downloaded pages as your clean art source for print layout.
Before you move on, open a few translated pages at 100% zoom. Check whether the original text is fully removed. Look for stray marks near bubble edges, missing sound effects, and backgrounds that were damaged during inpainting.
Also keep a simple term sheet. Record character names, place names, attacks, honorifics, and words that must stay in the original language. This matters when several people review a chapter. A good export can’t fix a name that changes spelling on every page.
By now you should have the original raws, translated page files, a fixed page order, and a short glossary. Don’t flatten or overwrite the originals.
Step 2: Set Resolution, Dimensions, Bleed, and Color
Correct page size and resolution give your translated comics a stable base for professional print. Set these values before you place pages into a book file, because changing them later can soften line art or move lettering.
Ask the printer for its exact trim size and file guide. A comic intended for a standard trade size may need a different document size than a custom art book. The trim size is the final cut edge. The bleed extends beyond that edge so small shifts during trimming don’t leave white slivers.
If the printer doesn’t state a bleed value, don’t guess. Ask before building the file. Extend backgrounds, panel fills, and art that touches the edge into the bleed area. Keep faces, dialogue, page numbers, and key sound effects well inside the safe area.
Set the working resolution based on the printer’s specification. A common print workflow uses 300 pixels per inch, but the printer’s file guide should control. The research reviewed for this topic found that none of the 19 examined translation tools published a clear maximum DPI specification. That gap means the export menu alone can’t prove print quality.
Check both pixel dimensions and physical dimensions. A page can show a large pixel count while still being placed at the wrong physical size. In your layout file, confirm that a placed page has the intended width and height at its final output size.
Choose the color mode your printer requests. RGB is common for screens, while CMYK is used in many print workflows. The CMYK color model uses cyan, magenta, yellow, and black inks, so bright screen colors may change when converted for print.
Don’t convert blindly at the last minute. Make a CMYK copy, inspect skin tones and saturated effects, then compare it with the RGB source. Red, blue, and neon green effects often need extra care. If your software has a soft-proof view, use it to preview the likely print result.
- Trim: the final page edge after cutting.
- Bleed: extra art beyond the trim edge.
- Safe area: the zone where important text and faces should remain.
- Color profile: the setting that tells the print workflow how to read color data.
Save a master file with editable layers. Make a separate print copy after color conversion and page setup. That gives you a clean source if the printer asks for a different profile or trim size.
Step 3: Inspect Lettering, Artwork, and Page Layout at Full Size
Full-size review catches problems that thumbnail checks hide. To export translated comics for print at professional quality, inspect every page at its intended physical size before you lock the file.
Read each bubble from start to finish. Check names against your glossary. Watch for a sentence that sounds too literal, a joke that lost its meaning, or a line break that changes the tone. AI translation can produce a useful first draft, but a human review still decides whether the page reads well.
Look at the lettering itself. Text should sit inside the bubble with even space around it. It shouldn’t touch the outline or crowd the tail. If English expands beyond the original wording, rewrite the line before shrinking the font too far. Tiny type may fit, but it will make a printed page tiring to read.
Review vertical writing with care. Japanese, Korean, and Chinese pages may mix vertical text, horizontal dialogue, narration, and sound effects. Check reading order rather than assuming the detector found every text block correctly.
Sound effects need a separate pass. Decide if each one should be translated, redrawn, transliterated, or left alone. Don’t place a new effect over a character’s hand, face, or motion line. If inpainting damaged a textured wall or speed line, restore the art in the layered master.
Print one page at actual size on ordinary paper. This quick test reveals cramped bubbles, weak contrast, and type that looked fine only because your monitor was enlarged. Use a ruler if the text feels too small. The page should work in a reader’s hands, not only in a design window.
Ask another person to read the chapter without your notes. Give them a page range and a short list of things to flag. Fresh eyes often catch repeated names or a missing line faster than the person who made the edits.
When this pass is done, mark the reviewed pages in a checklist. Don’t rely on a filename such as “final.” Use a version number and keep the review notes with the project. That small habit makes a late correction much safer.
Step 4: Export a Print-Ready PDF or Layered Master File
The goal is to give the printer the file type it needs without throwing away the art or text data. Most print jobs use a PDF, but a layered PSD or XCF file may be useful when a printer or production partner needs to make a controlled edit.
First, confirm the printer’s PDF standard, bleed settings, color profile, image compression rules, and page order. Use those instructions instead of a generic “high quality” preset. A preset can still embed the wrong profile or omit bleed.
Place one comic page per document page unless the printer asks for imposed spreads. Don’t arrange pages into printer spreads yourself unless the printer specifically requests them. Printers usually impose pages later based on the binding method.
Export with fonts embedded when the PDF contains live text. If the lettering is already part of the artwork, keep a layered master with the text layers intact. Name both files clearly, then add the trim size and version to the filename.
Review the export settings and print preview before delivery, including margins and page numbers.
If MangaGloss is part of your workflow, use its clean translated page output as the art source. MangaGloss currently provides translated pages as image files, so place those files into your print layout document before making the final PDF. This keeps translation review separate from book assembly, where trim, bleed, folios, and cover specs are controlled.
| File or setting | Use it when | Check before delivery |
|---|---|---|
| Print PDF | The printer requests a finished page file. | Page size, bleed, color profile, fonts, and page order. |
| Layered PSD | A production partner may need editable art or text. | Layers have clear names and the file opens without missing assets. |
| Layered XCF | Your workflow uses an editor that supports the format. | Text and art layers remain separate where future edits matter. |
| High-resolution page images | You need to place translated pages into a separate book layout. | Physical size, pixel dimensions, and compression settings. |
| Imposed spread PDF | The printer specifically requests printer spreads. | Binding direction, creep settings, and page pairing. |
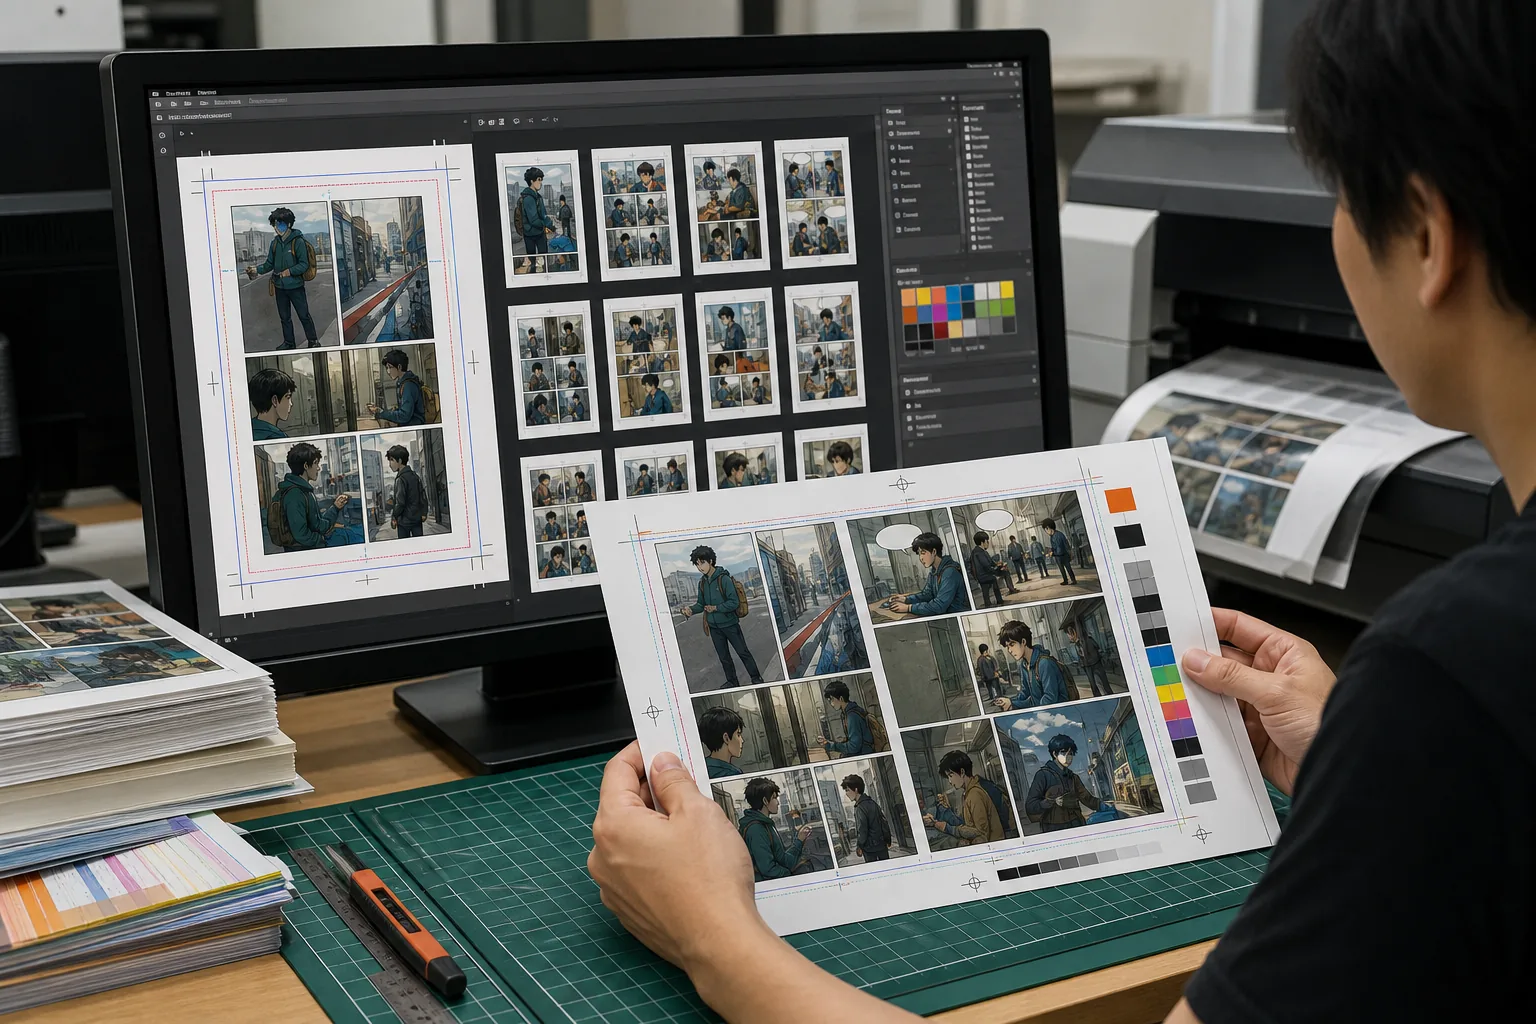
Export a low-resolution review PDF for your team only if the file is too large to share. Mark it clearly as a review copy. The printer should receive the full-resolution file, not the smaller file made for email.
Open the exported PDF in a second viewer. Never assume the file is correct because the export dialog said “complete.” Check the first page, several middle pages, and the last page before the formal preflight.
Step 5: Run Preflight Checks and Approve a Physical Proof
Preflight is the last file check before money and paper are involved. It confirms that the exported comic behaves as expected outside your design software.
Start with page count and order. Compare the PDF against your chapter list. Look for a blank page that appeared after a spread, a missing page number, or a cover file placed inside the story file.
Then inspect these points:
- Every page has the correct trim size.
- Art that reaches the edge extends into the bleed.
- Important text stays inside the safe area.
- Images are not accidentally downsampled.
- Black text uses the printer’s preferred black setting.
- Fonts are embedded or lettering is safely converted.
- Links, comments, and hidden guides are absent from the final PDF.
- Pages open without warnings or missing-resource messages.
Inspect thin lines and small text at a high zoom level, but judge readability at actual size. A line that looks heavy on screen may print faintly. A gray bubble fill may lose contrast after conversion to CMYK.
Send the file for a physical proof before approving a full run. A proof lets you check color, trim, margins, paper response, and the feel of the lettering. Digital screens can’t show how ink sits on the chosen stock.
Compare the proof with the PDF on screen. Mark changes by page number and describe the location, such as “page 14, lower-right bubble.” Avoid vague notes like “fix the text.” Then export a new version and repeat the page count check.
Keep the approved proof and final PDF together. If a later question comes up, you can tell which file was approved and which changes happened afterward. That record is especially useful when a chapter passes through a translator, letterer, editor, and printer.
FAQ
What file format is best for printing translated comics?
A print-ready PDF is usually the best delivery format when your printer requests a finished page file. Keep a layered PSD, XCF, or native master as a backup when edits may be needed. Confirm the printer’s preferred PDF standard, trim size, bleed, color profile, and font rules before exporting.
What resolution should translated comic pages have for print?
Many print workflows use 300 pixels per inch, but the printer’s specification should decide the final value. Check the placed page at its physical trim size, not only its pixel count. Translation tools often fail to publish maximum DPI data, so test the source files and ask the printer before delivery.
Should I export translated comics in RGB or CMYK?
Use the color mode requested by the printer. RGB is common during screen work, while CMYK is common for ink-based printing. Make a controlled CMYK copy when needed, then inspect bright effects, skin tones, and dark areas. Keep the original RGB or layered master so you can adjust the file later.
Can MangaGloss prepare translated comics for print?
MangaGloss can handle the translation stage by detecting text, translating it, removing the source text, and typesetting the replacement. Its page output is designed for review and publishing workflows, but you should place those pages into a print layout file. Set trim, bleed, color, and PDF options there before sending the job.
How do I check a translated comic before printing?
Check the PDF at full size, then print a physical proof. Review page order, bubble fit, names, sound effects, bleed, color, and small type. Open the exported PDF in another viewer and compare the proof against the final file. Make corrections by page number, then export and preflight again.
Conclusion
Use MangaGloss for the translation and lettering pass, then finish the job in a print layout file that matches your printer’s specs. Before approval, print one physical proof and compare it with the exported PDF. That last check is the best way to catch problems that a screen cannot show.