
How to Fix AI Manga Translation Mistakes (Edit Any Bubble)
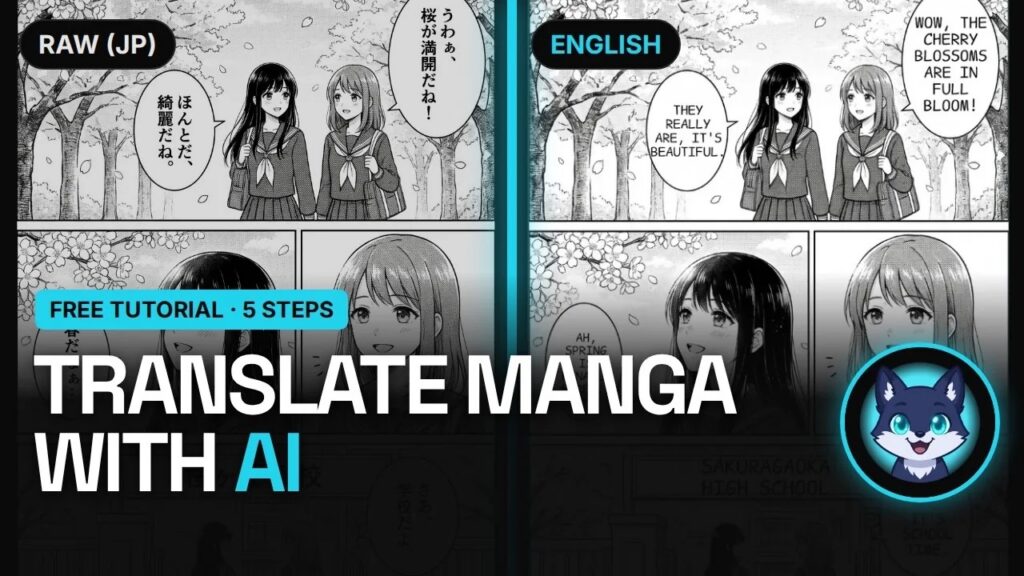
AI translation gets most manga lines right. The problem is the few it doesn’t: a line that’s correct but flat, a name spelled two ways, a sentence too long for its bubble. This guide shows how to fix AI manga translation mistakes in a built-in editor, bubble by bubble, so the page reads the way you want, without opening Photoshop.
Watch: translate a page, then fix a line (2:29)
This video goes through the full process on a real Japanese page: upload, translate, edit one bubble, re-render and download.
Why AI manga translations still need a quick edit
An AI manga translator reads each bubble, translates it with the rest of the page as context, erases the original lettering and types the translation back in. That’s most of the work. But a few things are hard for any machine translation:
- Tone. A line can be accurate and still sound flat. In the video, the Japanese line haru da naa came out as “It’s spring.” Correct, but it loses the feeling of the original.
- Names and terms. Character names, attack names and places can change spelling from page to page if the AI has nothing to go on.
- Length. English often needs more room than Japanese. A long line can spill past the edge of a small bubble.
- Honorifics and jokes. Whether you keep “-chan” or “-senpai”, and how you handle wordplay, is a style choice only you can make.
The good news: each of these takes seconds to fix if the translator gives you an editor instead of a flat image.
Step by step: translate a manga page and fix any line
Step 1: Open the translator
Go to mangagloss.com/translate. You can start right away without creating an account. The bar at the top shows how many free pages you have left today.
Step 2: Upload your raw pages
Drag your raw pages into the upload box or click to browse. PNG, JPG and WebP all work, and you can add several pages at once.
Step 3: Pick the languages and translate
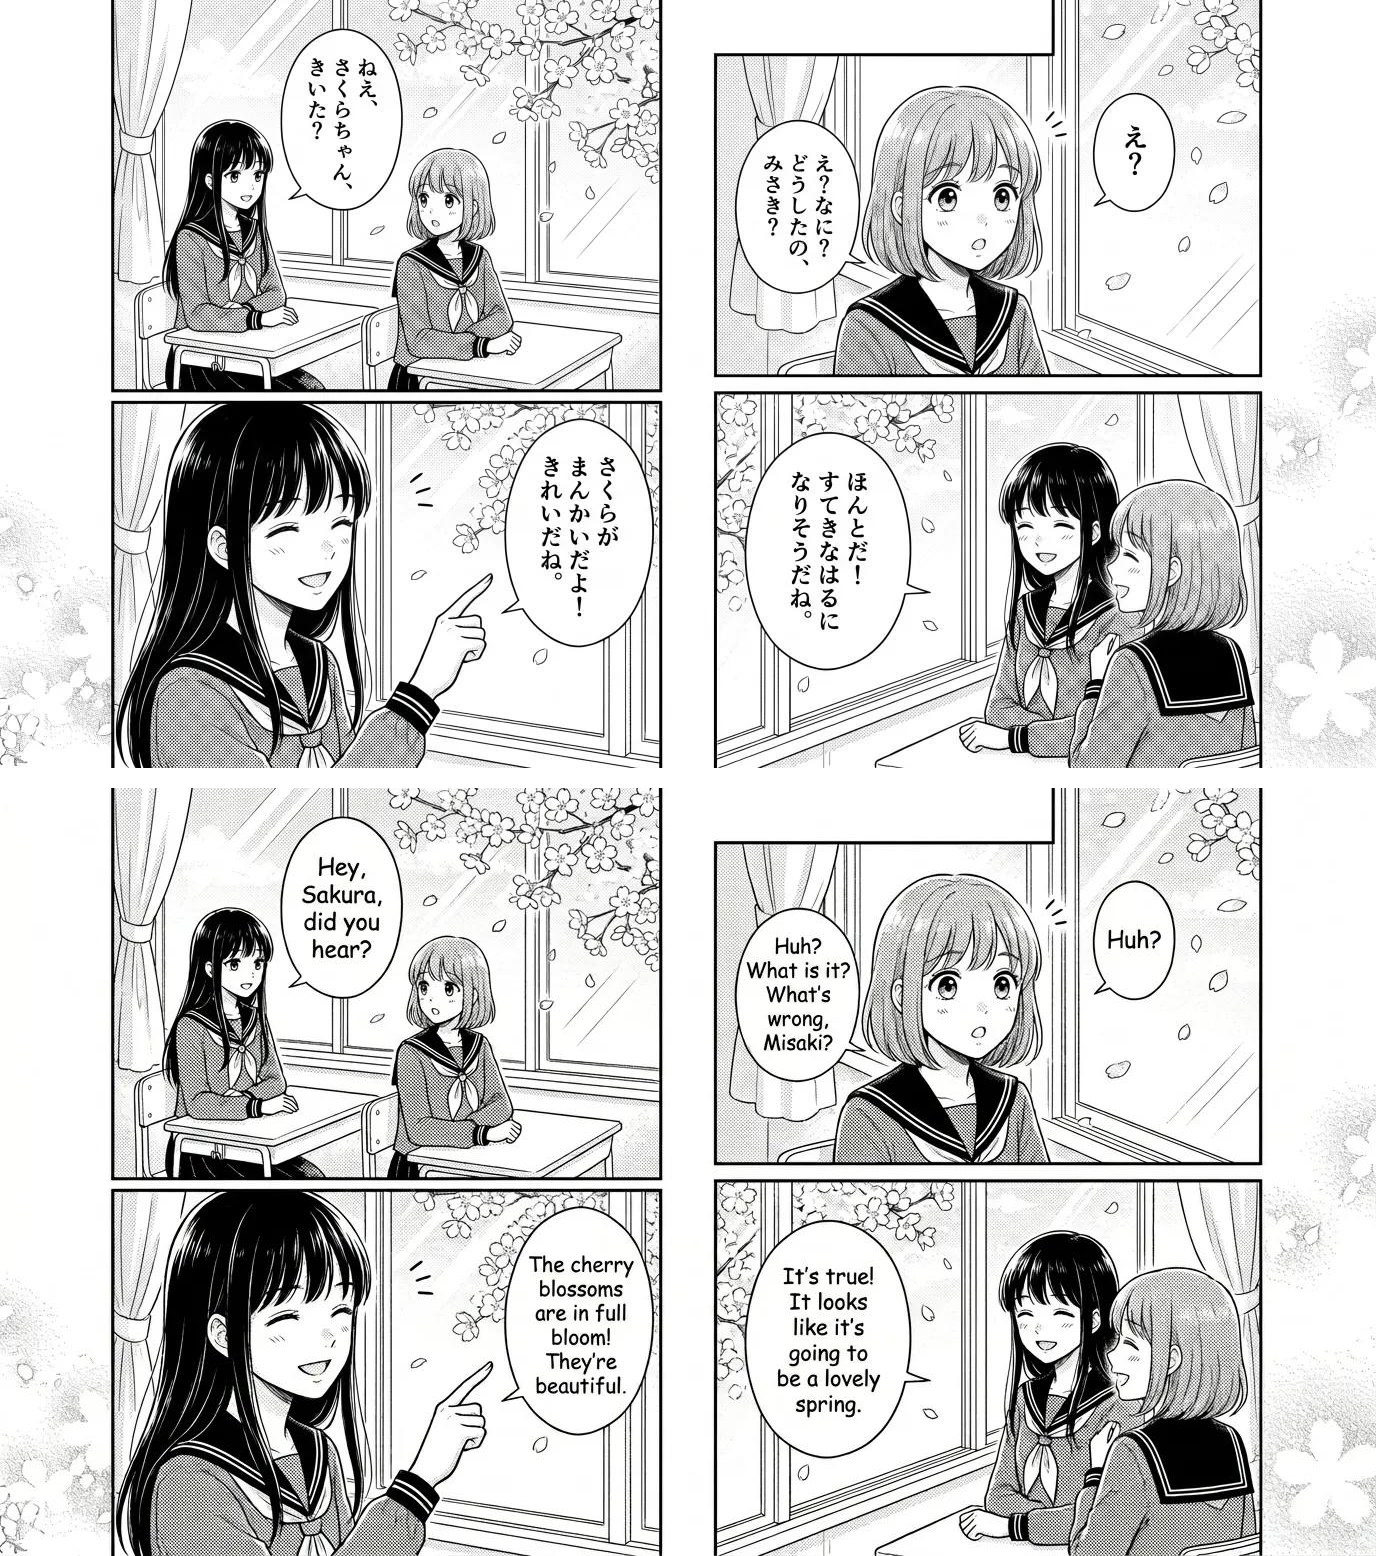
Choose the source language (Japanese, Korean or Chinese) and the language you want to read, then click Translate. OCR finds every text bubble, the AI translates it with the whole page as context, and the original lettering is cleaned away. In the video, the page was done in about half a minute.
Step 4: Open the editor and fix a bubble
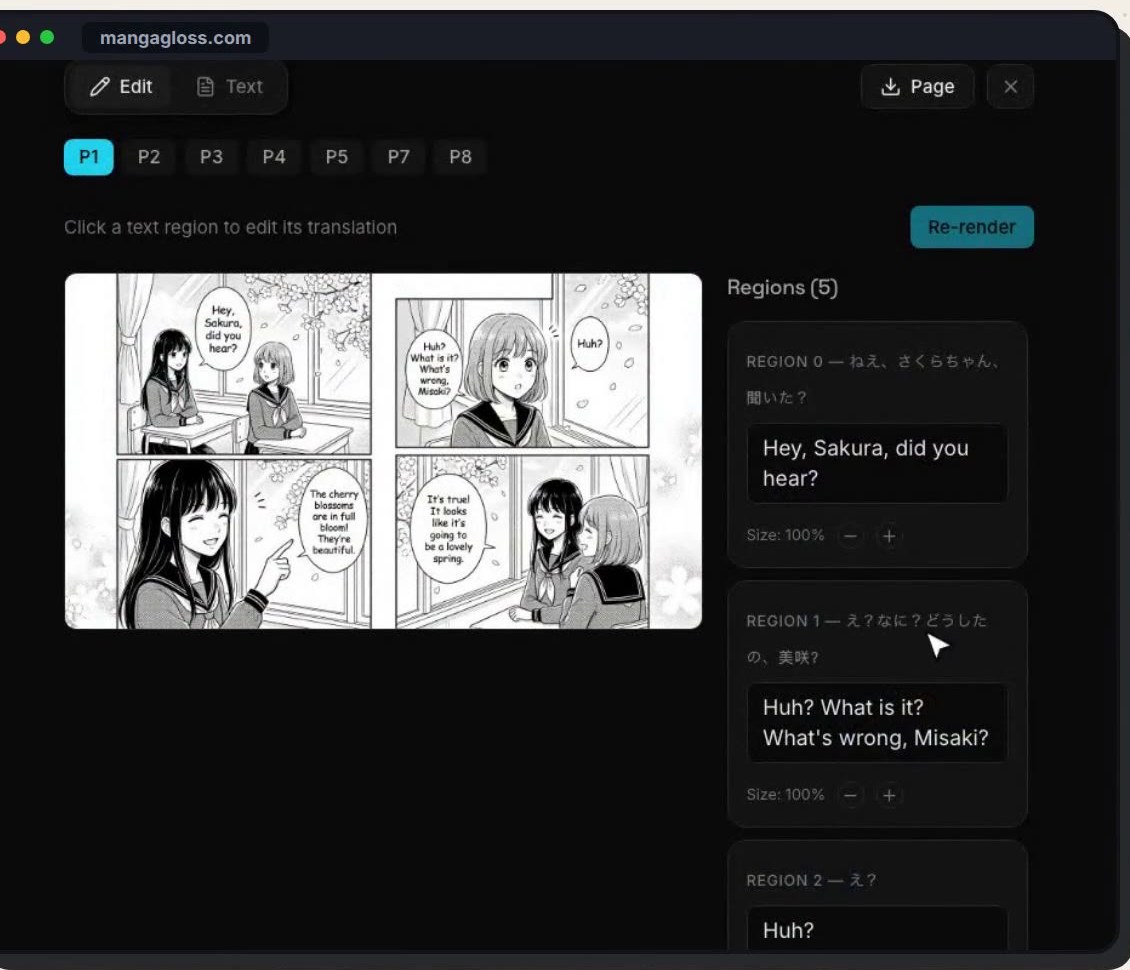
Click Edit. Every text region on the page is listed next to it, with the original text above the English translation. Click the region you want to change and type your own wording. In the video, “It’s spring” became “Ah, spring is finally here.”
Step 5: Adjust the size and re-render
Right under each region you can make the text bigger or smaller, which is how you fix a line that’s too long for its bubble. Then click Re-render, and the bubble is typeset again with your text. Your translation, your call.
Step 6: Copy the script or download the page
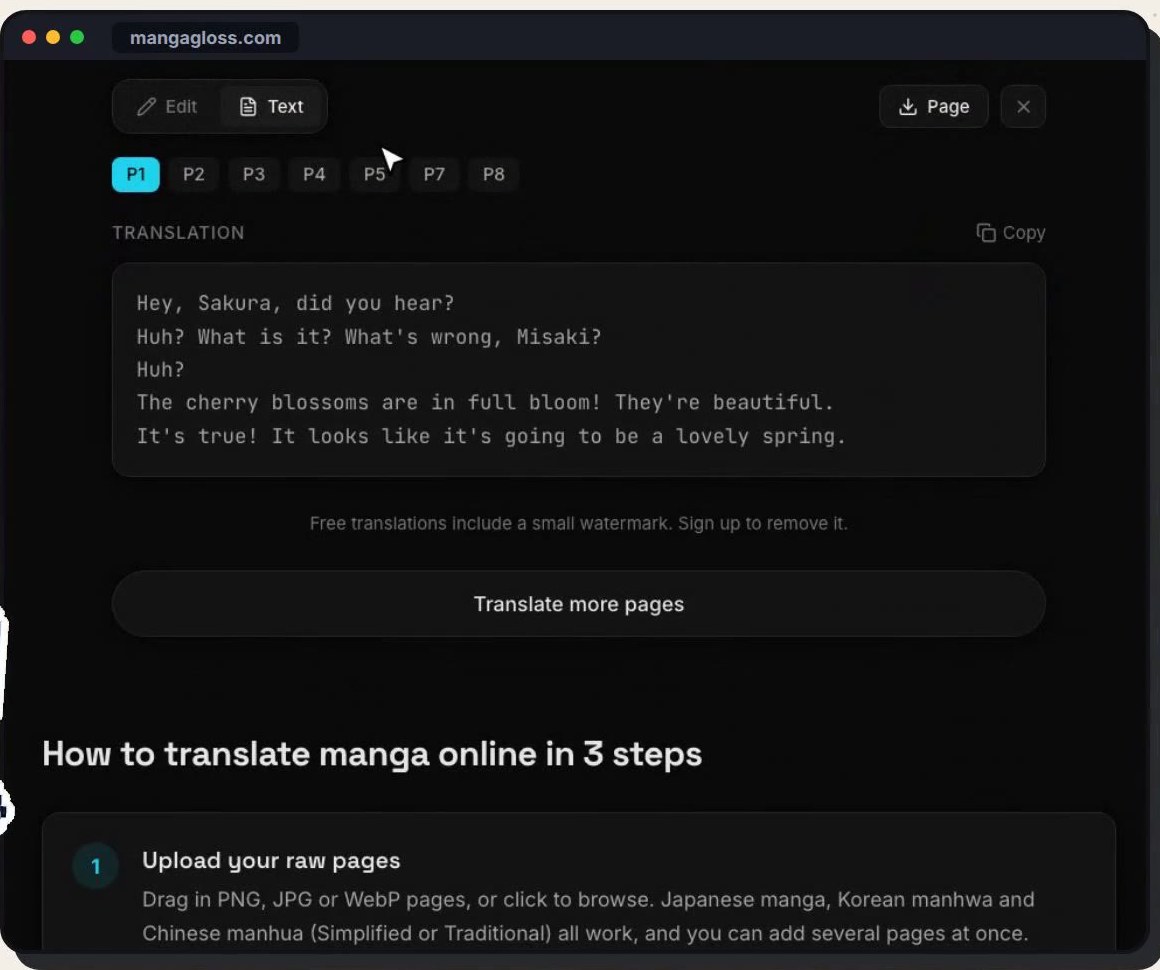
Need only the text? The Text tab gives you the whole script, ready to copy into your own tools. When you’re happy with the page, click Download.
The most common AI manga translation mistakes (and the fix)
| Mistake | What it looks like | How to fix it |
|---|---|---|
| Flat or literal line | Correct meaning, wrong feeling | Rewrite the line in the editor, re-render |
| Text runs off the bubble | Letters cross the bubble edge | Shrink the text size for that region, or shorten the line |
| Name spelled two ways | “Sakura” on one page, “Sakra” on the next | Fix it in the editor; on paid plans use a per-series glossary |
| Sound effect left in Japanese | Hand-drawn SFX unchanged | Treat SFX as optional; letter important ones by hand |
| Bubble cut off by the page edge | No room for the text | Shorten the line or letter it by hand in your own tool |
Keep names consistent with a glossary
If you read a long series, fixing the same name on every page gets old fast. Paid plans add a per-series glossary: you enter a name or term once, and the AI uses the same spelling in every chapter. A glossary guides the AI rather than forcing it, so a quick read-through is still a good idea.
Free vs paid: what changes
- Free, no account: translate pages right away. Free translations without an account carry a small watermark; signing up removes it.
- Paid plans: more pages each month and the per-series glossary. Current plans and prices are on the pricing page.
Tips for editing faster
- Translate the whole chapter first, then edit. It’s faster to read through all pages and fix the few lines that need it than to stop after every page. See how to translate a whole chapter at once.
- Fix names on the first page. Decide on spellings and honorifics early so the rest of the chapter is consistent.
- Batch your re-renders. Change every region you want on a page, then re-render once.
- Shrink before you rewrite. If a line is good but too long, reducing the size is quicker than finding a shorter phrase.
- Use the Text tab to proofread. Reading the script as plain text makes typos and odd phrasing easier to spot.
Frequently asked questions
Can I edit an AI manga translation without Photoshop?
Yes. The built-in editor lets you change any line and its size, then re-renders the page for you. You only need an image editor for bubbles that are cut off by the page edge.
How long does a re-render take?
Longer than the first translation, because the page is lettered again with your settings. Plan for a few minutes, and change every region you want before you click Re-render. Questions about page limits are answered in the FAQ.
Can I fix manhwa and manhua too?
Yes. The editor works the same for Korean manhwa, webtoon strips and Chinese manhua as it does for Japanese manga.
Which manga translator is best for editing?
Look for one that keeps every bubble as editable text instead of a flat image. We compared the main options in the best manga translator guide.
Try it on your own page
Upload a raw page to the free AI manga translator, fix the lines you care about, and download a page that reads the way you want.