
How to Automate Comic Typesetting After Translation

Manual typesetting is often the slowest part of a comic translation job. You can automate most of it by sending clean pages through OCR, translation, inpainting, and a typesetting engine in one workflow. The key is to automate the first pass, then review the pages for meaning, fit, and reading flow.
MangaGloss is built for this process. It handles OCR, translation, inpainting, and typesetting, so you don’t need to move each page through several separate apps.
Step 1: Prepare Your Translated Comic Pages and Text
Good source files give your automated typesetting workflow a better start. Before you upload anything, sort the pages and check the translation script for clear text blocks.
Put every page in reading order. Use simple file names such as chapter-01-page-001. If the pages are out of order, the finished ZIP file may also be hard to check. A full chapter works best when you upload it as one batch, since the tool can keep page order and series terms together.
Use PNG, JPG, or WebP files with sharp text. Avoid screenshots that are blurred, heavily compressed, tilted, or covered by large watermarks. Split a double-page spread into two pages when the gutter cuts through a speech bubble. Text near the fold is easy for OCR to miss.
OCR means optical character recognition. It turns text inside an image into data that software can read. Wikipedia’s overview of optical character recognition describes the basic process, but comic pages add extra problems such as curved bubbles, vertical writing, stylized sound effects, and text over artwork.
Prepare a short term sheet before processing. Include names, places, ranks, attack names, and words that should stay in the source language. If your tool has a glossary, add these terms before the batch starts. This reduces the chance that one character’s name changes spelling halfway through a chapter.
Also check the translated text itself. A typesetting engine can fit a bad sentence perfectly. It won’t know that a joke needs a different tone or that a character uses short, clipped speech. Keep editorial choices in the script, then let automation handle the layout.
With MangaGloss, you can drag in individual pages or a ZIP archive. The service accepts common image formats and keeps a chapter batch together while it processes the pages.
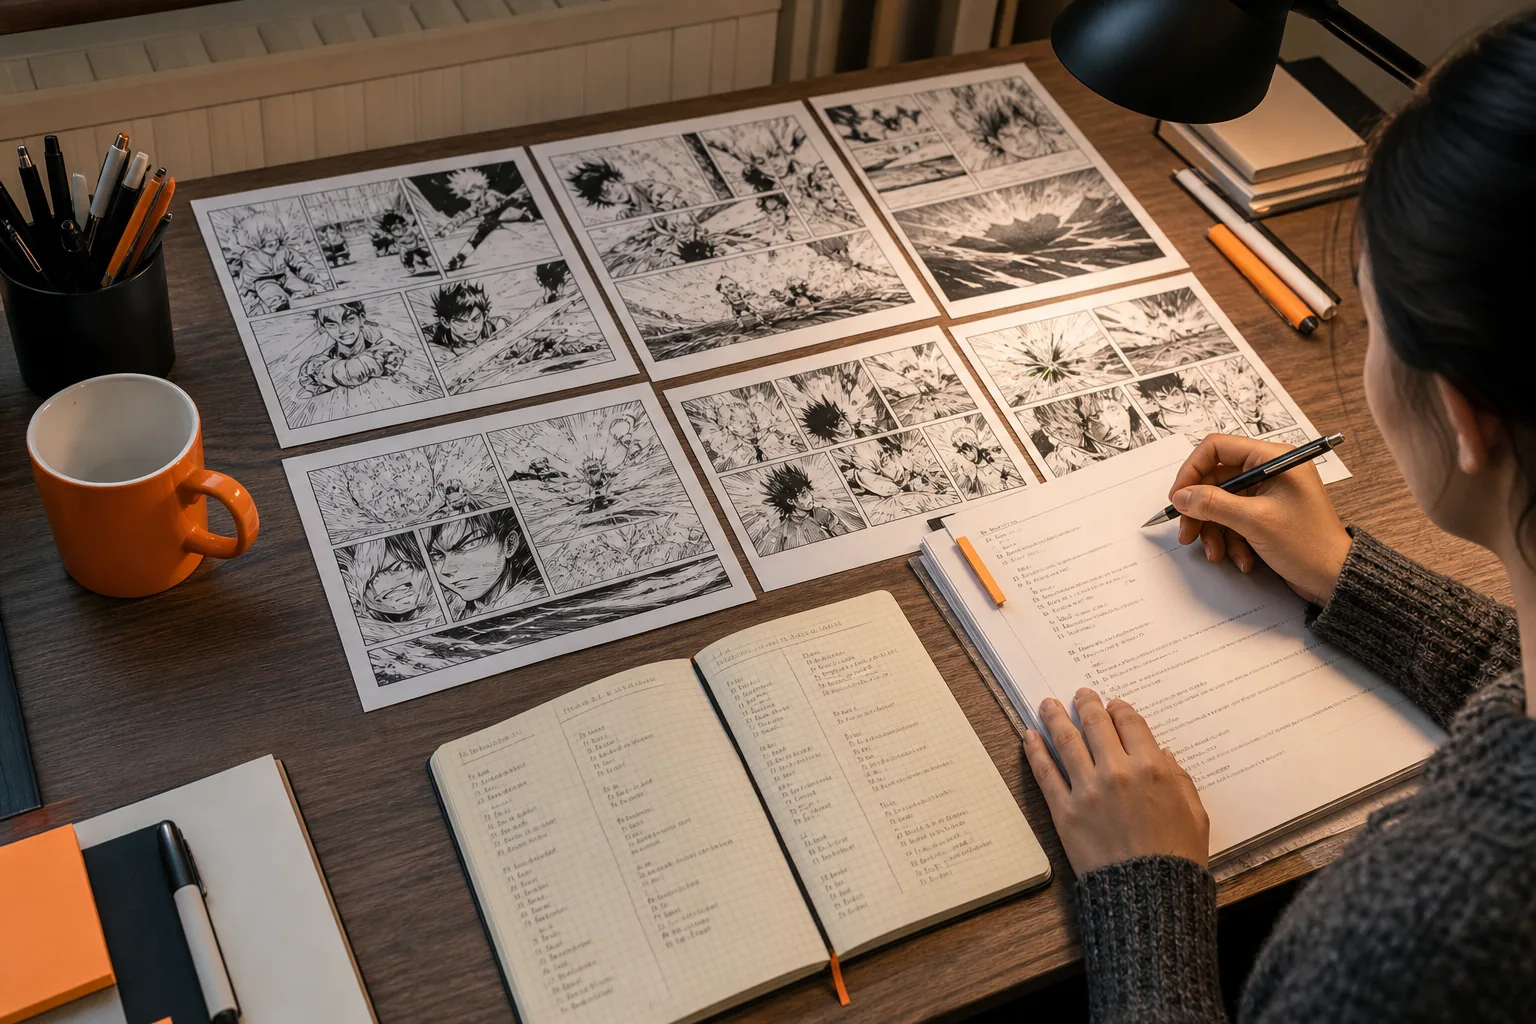
By now you should have an ordered chapter, clean image files, and a checked translation script.
Step 2: Import Pages and Detect Speech Bubbles Automatically
To automate typesetting after translating comic pages, upload the whole batch instead of placing text one page at a time. The system should first find each text region before it decides where the translated words belong.
Open the translator and select the source language and target language. Upload the chapter ZIP, or drag the page files into the upload area. Confirm the page count before you start. This simple check catches missing pages before the OCR pass begins.
A manga-focused detector should look for more than round speech bubbles. It should also find narration boxes, vertical text, small captions, and sound effects. A page may contain several reading zones with different shapes. If the detector treats a speed line as text, the later cleanup step may damage the art.
Let the OCR pass finish before you judge the layout. The system needs the text regions first. It can then connect each translated line to the right bubble and estimate the space available for the new text.
MangaGloss uses a comic-focused detector to find speech bubbles, narration boxes, and sound effects. Its workflow then sends the detected text through OCR before translation and page cleanup. This matters when a chapter mixes normal dialogue with large effects placed over a panel.
Watch the progress page for failed or empty results. A blank OCR result may come from tiny text, low contrast, an unusual font, or a page that was rotated. Don’t discard the page at once. Open the original image and see if a sharper copy fixes the issue.
For a team, keep a short review log. Record the page number and the problem, such as “vertical caption missed” or “name read incorrectly.” This gives the editor a clear list for the next pass. It also helps you spot repeated source-file problems.
If your source pages contain text outside bubbles, decide how you want to treat it. A sign in the art may need translation. A background poster may not. Marking every word for translation can make the page noisy, while ignoring all background text can remove useful story detail.
The milestone is simple: every text region should have a detected box, a source line, and a matching translated line. Only then should you apply the final font and placement rules.
Step 3: Apply Fonts, Text Placement, and Bubble Styles in Batches
Batch typesetting applies the same layout rules across the chapter. This is where automation saves the most repetitive work, but the settings still need a human choice.
Start with a font that matches the role of the text. Dialogue usually needs a clear face with enough space between letters. Shouts may need heavier weight. Narration can use a different style if the source page sets it apart. Don’t change fonts for every bubble. A small set of rules is easier to keep consistent.
Set the main placement rules before you process the batch:
- Keep text inside the bubble’s safe area.
- Leave breathing room around the letters.
- Keep line breaks close to the shape of the bubble.
- Use centered text when the bubble is centered.
- Keep sound effects separate from spoken dialogue.
English often takes more space than Japanese, Korean, or Chinese. A direct line-by-line replacement can overflow even when the original fit well. The engine should reduce font size or add line breaks when needed, but set a lower size limit. Tiny text is technically inside the bubble, yet it still fails as a reading experience.
Typesetting is the arrangement of text on a page. The standard definition of typesetting covers the wider craft, while comic typesetting adds bubble shape, panel timing, emphasis, and sound design. A page can have correct words and still feel wrong if the text sits too high or breaks a dramatic beat.
Use the same batch rules for recurring bubble types. For example, a small oval bubble may need tighter margins than a large round bubble. A narration box may need a fixed inset from the edge. Save those choices as defaults when your tool allows it.
MangaGloss places the translated text on the cleaned page and adjusts font sizing to fit the detected bubble. On plans with the built-in editor, you can click a bubble after processing, change the wording or size, and render the page again in the browser.
Keep a style sheet for the chapter. Write down the font choice, treatment for shouts, approach to SFX, and preferred line length. A translation team can use that sheet during review. It prevents one editor from making every bubble tight while another leaves wide gaps.
By now, the batch should have a first typeset pass. Don’t publish it yet. Automated placement is a draft, even when most bubbles look right at a glance.
Step 4: Review Overflow Reading Order and Artwork Cleanup
Review turns automated typesetting into a usable page. Read every bubble at normal viewing size, then zoom in only when you need to inspect an edge or a damaged patch of art.
Start with overflow. Look for letters touching the bubble edge, lines that run into a tail, and words that sit outside the detected region. Check the opposite problem too. Text that is far too small may fit, but it can make the page tiring to read.
Next, check line breaks. Don’t split a name, sound, or short phrase in an awkward place. A long sentence may need a rewrite rather than a smaller font. Shortening a line can preserve the voice and keep the bubble calm.
Then follow the reading order. Text placement can change how a reader moves through a panel. In a right-to-left page, the first bubble should not appear visually after the next line. In a vertical-scroll manhwa page, check the gaps between panels. A misplaced caption can reveal a punchline too soon.
Review sound effects as their own layer of meaning. Some should be translated. Some should be left in place with a small gloss. Others work better as redraws that match the original shape. A single global rule usually produces poor results because sound effects are part of the artwork.
Inspect the cleaned art around every text region. Inpainting may leave a soft patch, a repeated line, or a missing detail where the old text sat. Look closely at faces, hands, hair, speed lines, and patterned backgrounds. These areas show errors faster than a plain white bubble.
MangaGloss uses inpainting to remove the source text before it renders the translation. The result still needs review. AI can rebuild a background in a way that looks fine at thumbnail size but odd when a reader zooms in.
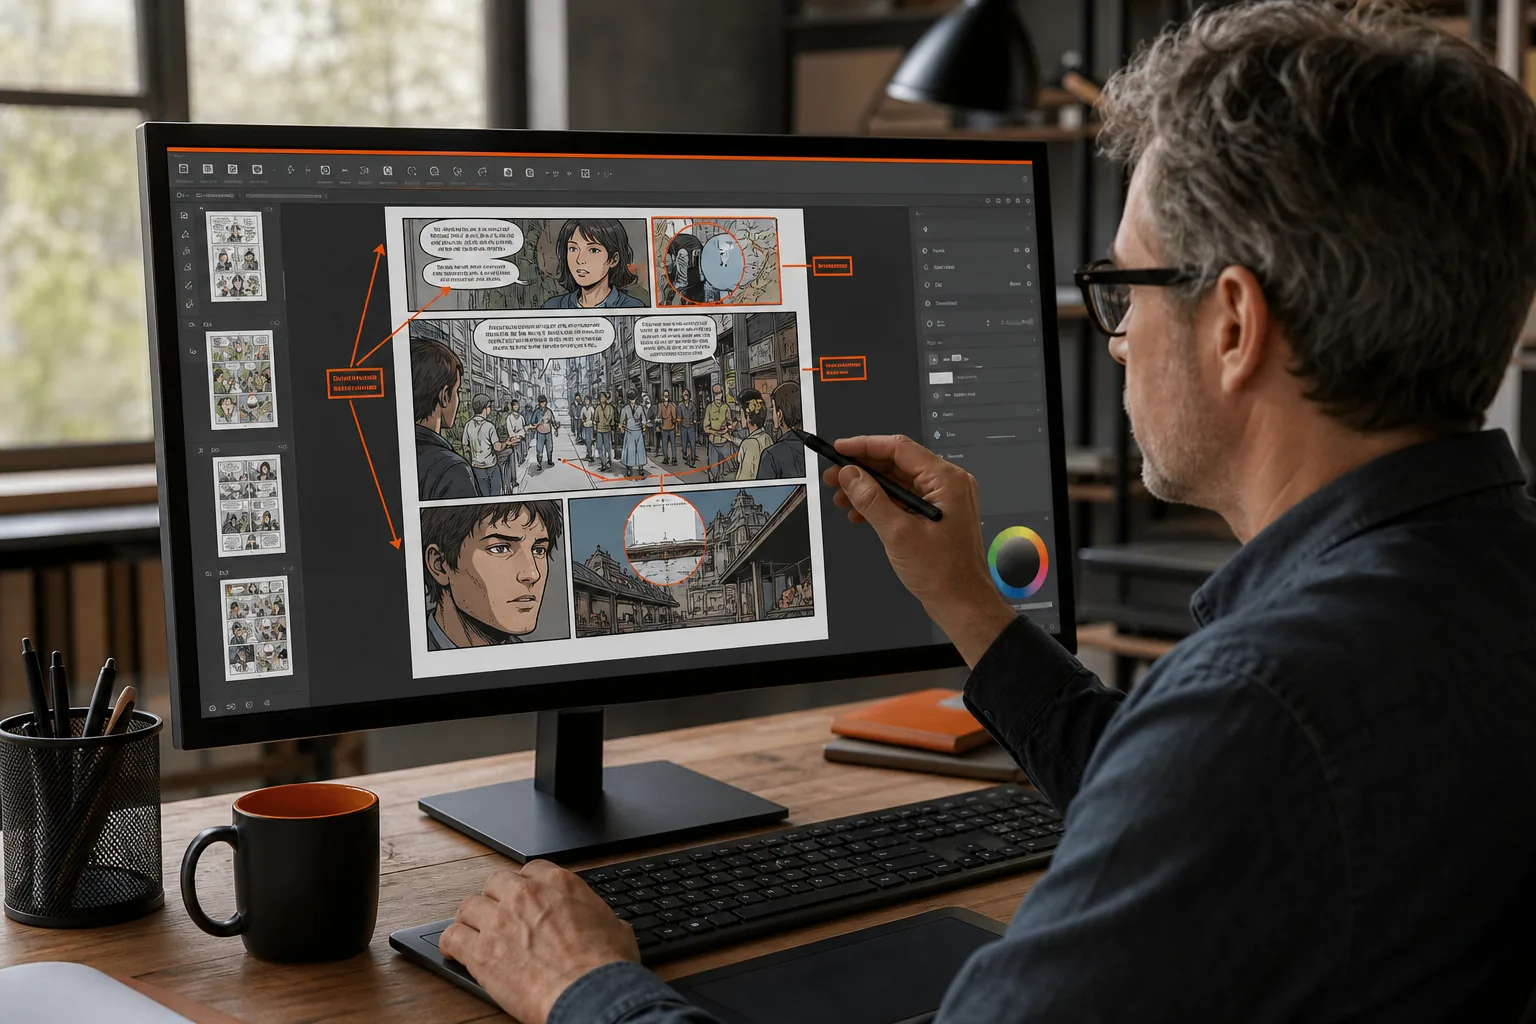
Use a repeatable check on each page:
- Read the translation without looking at the source.
- Compare names and terms with the glossary.
- Check bubble fit and line breaks.
- Follow the panel and bubble order.
- Inspect the art where old text was removed.
- View the page at the size your readers will use.
Don’t ask an automated checker to judge tone, jokes, or cultural context. Those choices need a translator or editor. Automation should remove the dull repeat work, not remove the final act of reading.
When a page fails, fix the source text or the bubble settings first. Re-rendering is usually cleaner than manually painting over a bad result.
Step 5: Export Compare and Finalize the Typeset Pages
The last step is to compare the finished pages with the raw pages and your approved script. Export only after the chapter passes both checks.
Download the output in a format that fits the next handoff. PNG works well when you need page images. A ZIP keeps a chapter together. If your publishing system has its own image rules, check its size and color requirements before export.
Keep the raw files untouched. Save the translated output in a separate folder with the chapter number and language in its name. For team work, keep the final script and glossary beside the exported pages. That makes later corrections much easier.
Compare pages in pairs. Put the raw page beside the typeset page and check:
- Nothing important disappeared during cleanup.
- Every source text region has a decision.
- The translated line matches the approved wording.
- Emphasis still appears in the right place.
- Page order and file names are correct.
Make a final pass on proper names. A single spelling change can confuse readers when it appears across several pages. If your tool supports a series glossary, update the term there before you rerun affected pages. Don’t fix the same name by hand on ten pages.
For a small team, one person can do the language pass while another checks layout. For solo work, split the tasks by time. the art and placement with fresh eyes.
MangaGloss keeps the first pass in one browser workflow. You upload the chapter, let the system clean, translate, and typeset it, then edit the bubbles that need attention. That setup is useful when a team wants to avoid exporting pages to a separate editor for every small wording fix.
Before you share or publish, confirm that you have the right to use the source pages and distribute the translation. Automation changes the work process, not the rights attached to the comic.
Your final milestone is a folder with ordered pages, a checked script, and a record of any pages that still need human work. That is a much safer handoff than a folder of files that merely look finished.
FAQ
What is the fastest way to typeset translated comic pages?
The fastest method is an AI workflow that combines OCR, translation, inpainting, and text placement. Upload a clean chapter batch, let the system make a first pass, then review the pages. MangaGloss follows this model, so you can correct selected bubbles instead of rebuilding every page by hand.
Can AI typeset manga without Photoshop?
Yes, AI can typeset manga without Photoshop when the tool has a built-in renderer and editor. It can detect text areas, remove the source text, and place the translation inside the bubbles. You should still review line breaks, artwork cleanup, and tone. Automation reduces manual layout work, but it doesn’t replace editorial judgment.
How do I stop translated text from overflowing speech bubbles?
To stop overflow, set a safe margin and a minimum readable font size before the batch runs. Then shorten awkward lines when the target language expands. Review the longest bubbles first. If a sentence still does not fit, change the wording instead of shrinking it until the page becomes hard to read.
Does automated typesetting translate sound effects?
Automated typesetting can detect and translate some sound effects, but each effect needs a style decision. A large effect may need a redraw, while a small effect may work with a nearby translation. Check effects separately from dialogue because they affect the artwork, mood, and panel timing.
Is MangaGloss suitable for a full comic chapter?
Yes, MangaGloss is designed for manga, manhwa, and manhua chapters. You can upload pages or a ZIP archive, then let the AI process the batch. Its workflow covers OCR, translation, inpainting, and typesetting. Use the editor for names, tone, line breaks, and any page where the first pass needs a fix.
Conclusion
Use an end-to-end tool such as MangaGloss when you want to automate comic typesetting without splitting the job across several apps. Start with three sample pages, set your glossary and font rules, then process the full chapter and review every exception before export.